2005-2010 Honda Odyssey Pulley Rebuild Instructions
If someone sent you these instructions and you didn't purchase from ThanosZX7R on eBay or CarCableGuy on Amazon or on this website, get your money back. You purchased inferior quality products from seller with no integrity. Just return eBay or Amazon or whatever platform you purchased from they are "Not as described" and then purchase from Thanoszx7r or CarCableGuy.com. Please help us in limiting the low quality products and report them as counterfeit in Amazon or eBay and demand your money back. We provide excellent instructions and clear pictures to provide the best service to you.
-
Model
2005-2011
-
One Door Kit Repairs One Door
Scroll Down for All the Instructions

Please Follow all the Instructions

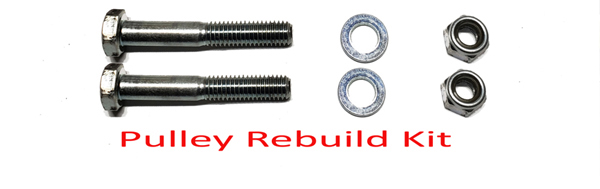
The pulley rebuild option is:
2 (two) bolts
2 (two) steel washers
2 (two) nylon locking nuts
Please follow these instructions carefully in order to ensure a proper repair that will continue to function for years to come.
This is only the pulley rebuild portion of the 2005-2011 Kits.
Tools Needed:
10 mm wrench and/or socket for each side to tighten the nuts
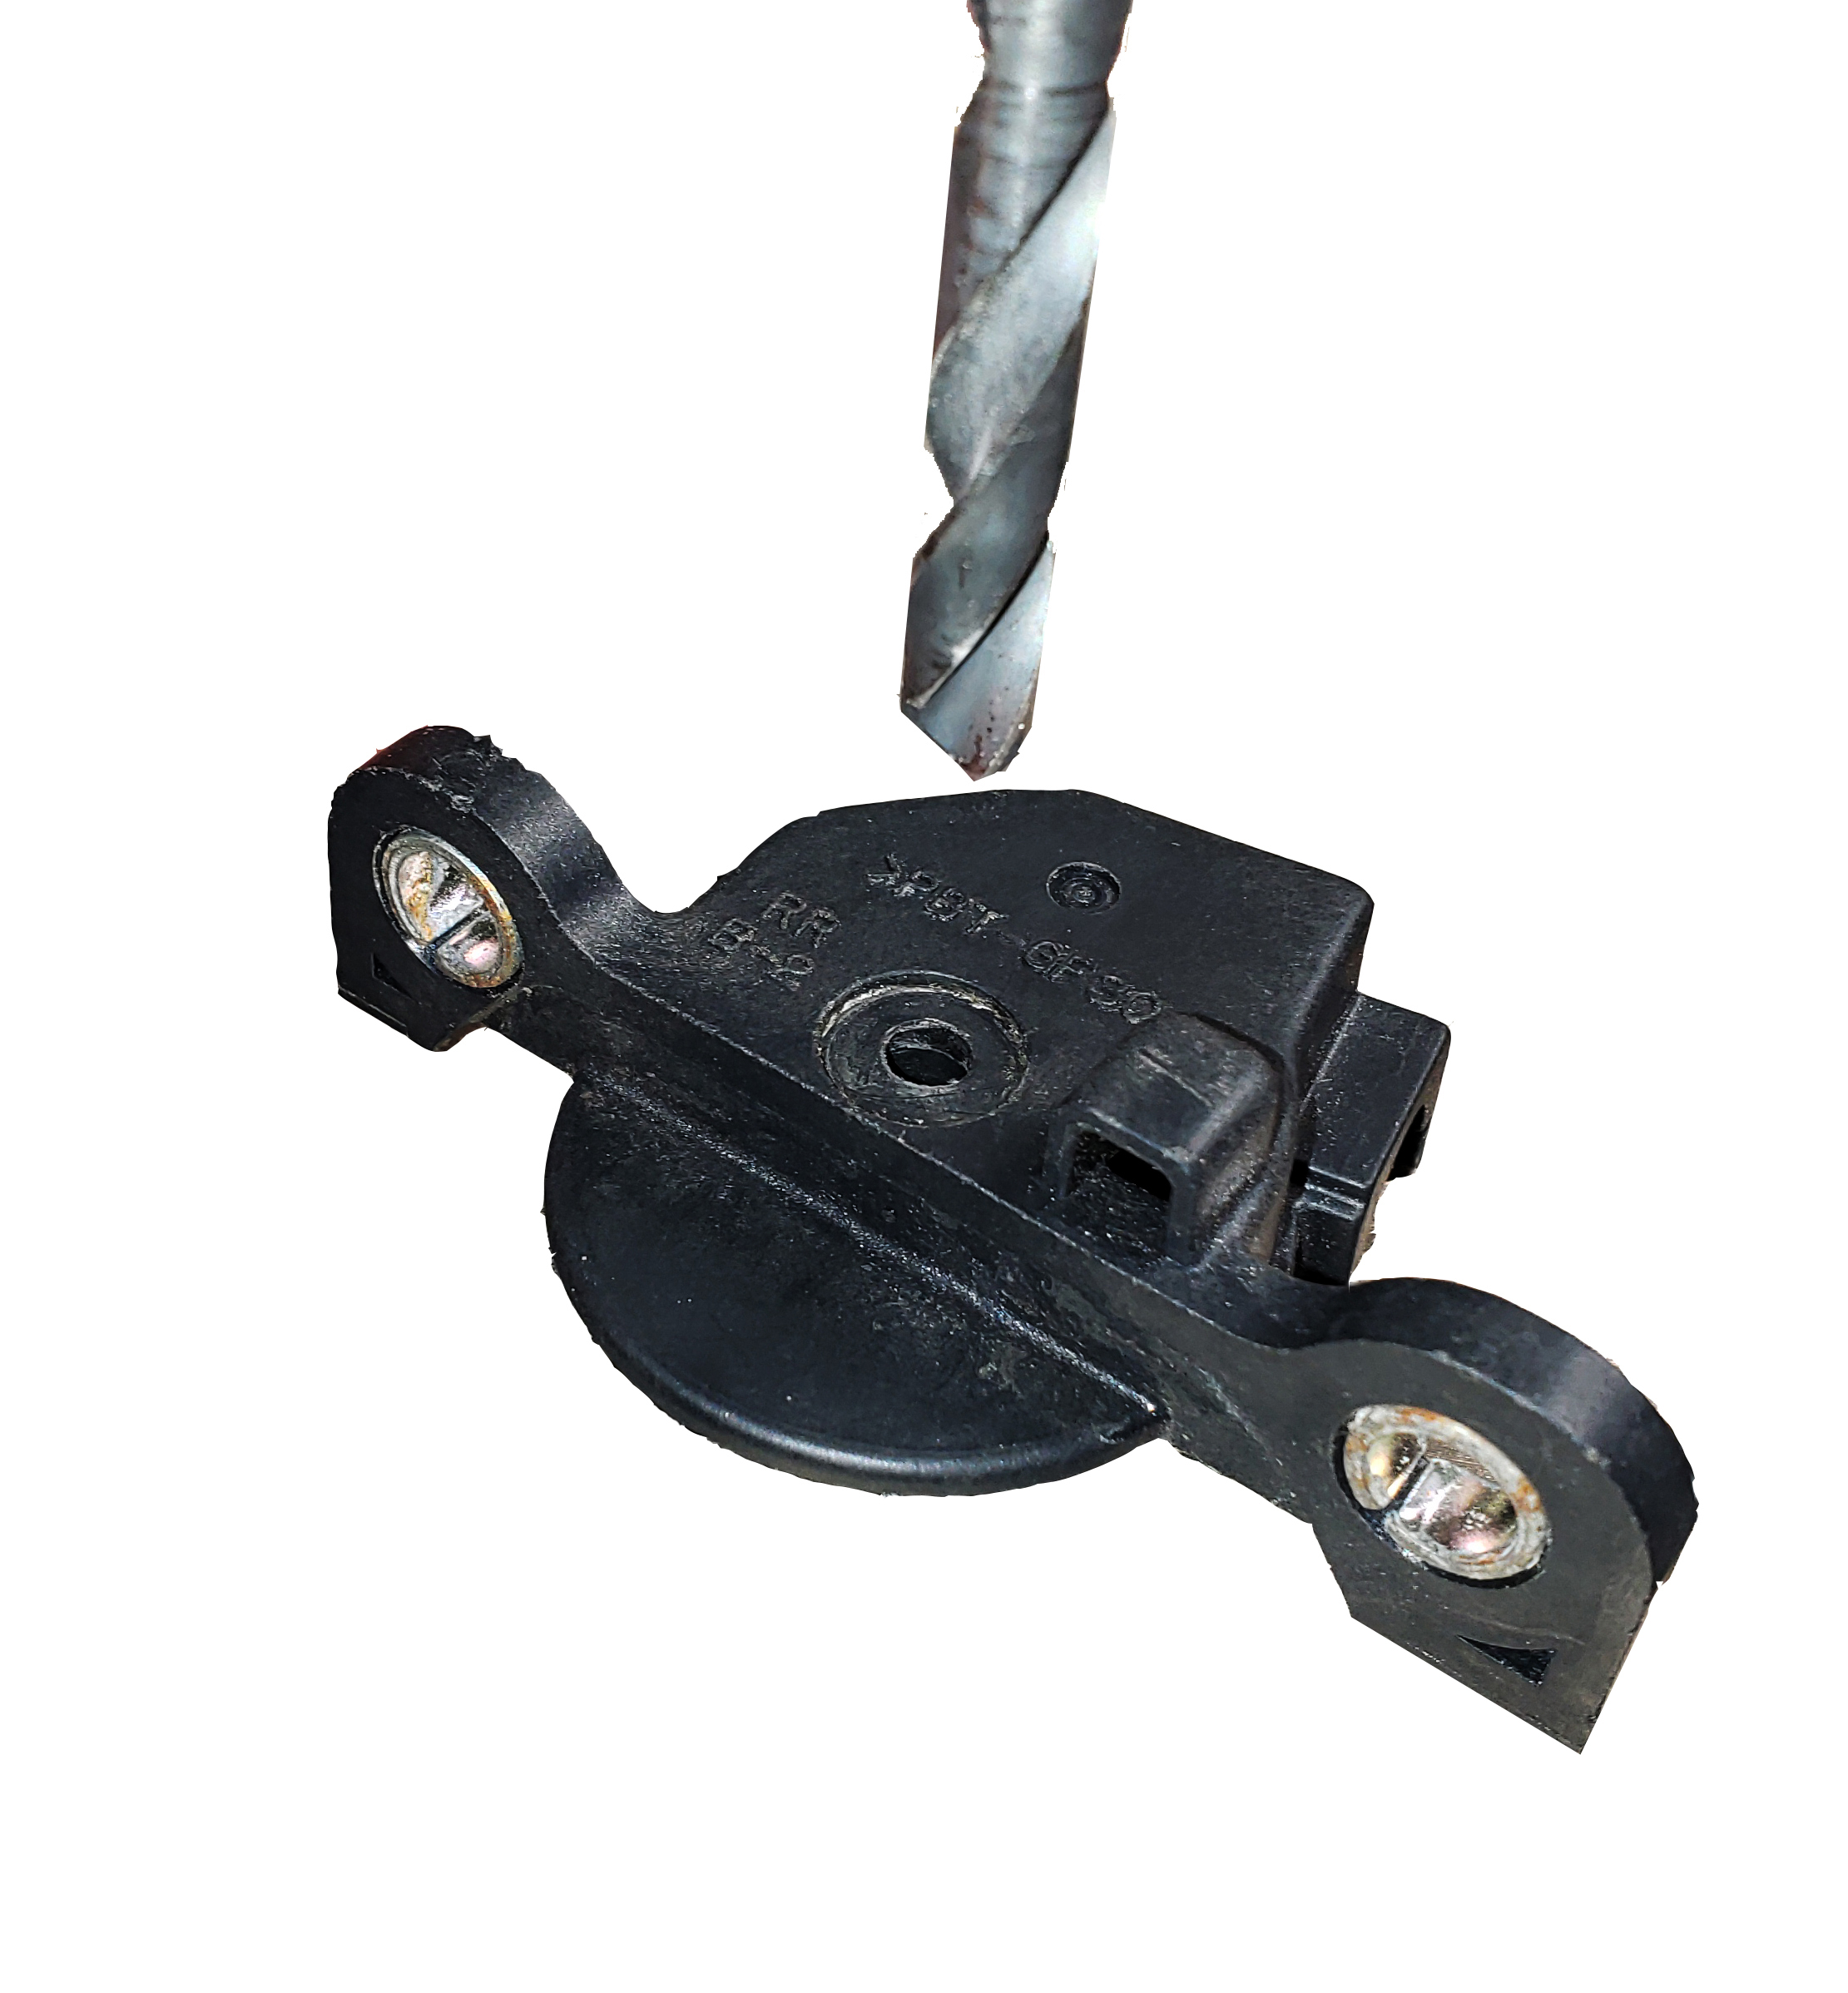
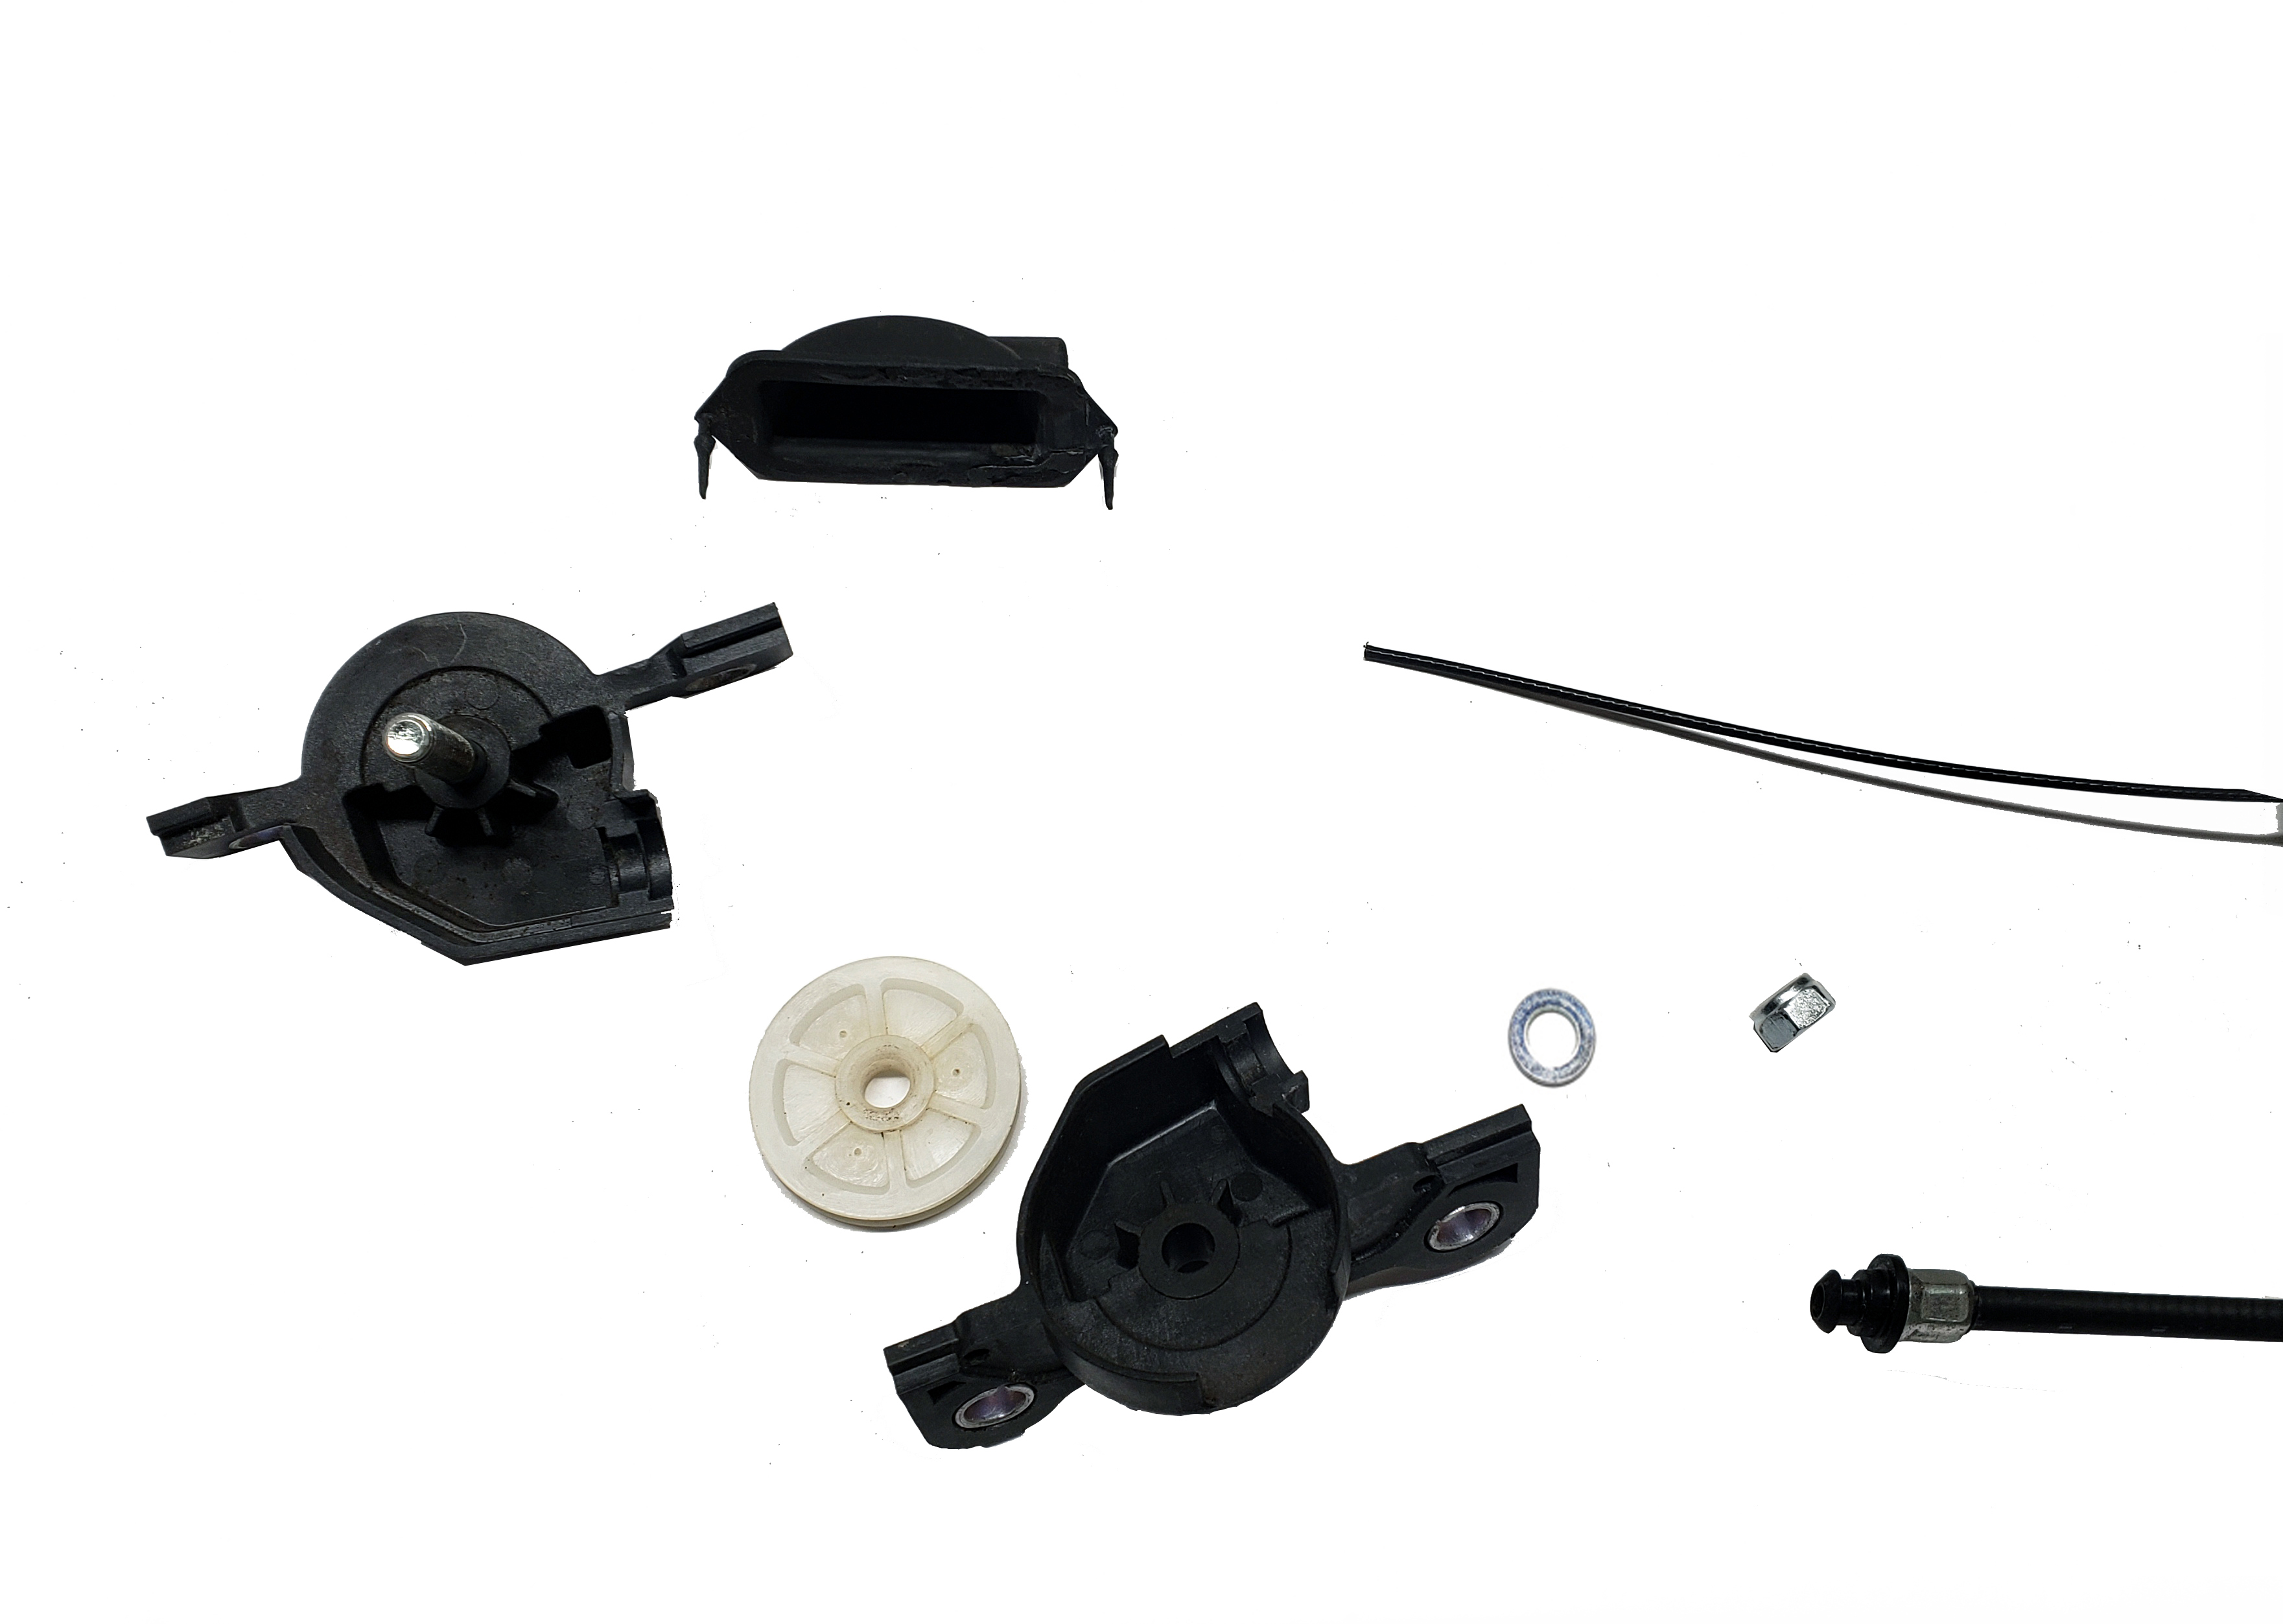
1/4 in Drill BitUse a 1/4 inch drillbit at the center of the round part. The other side of the axle in the pulley is not round.
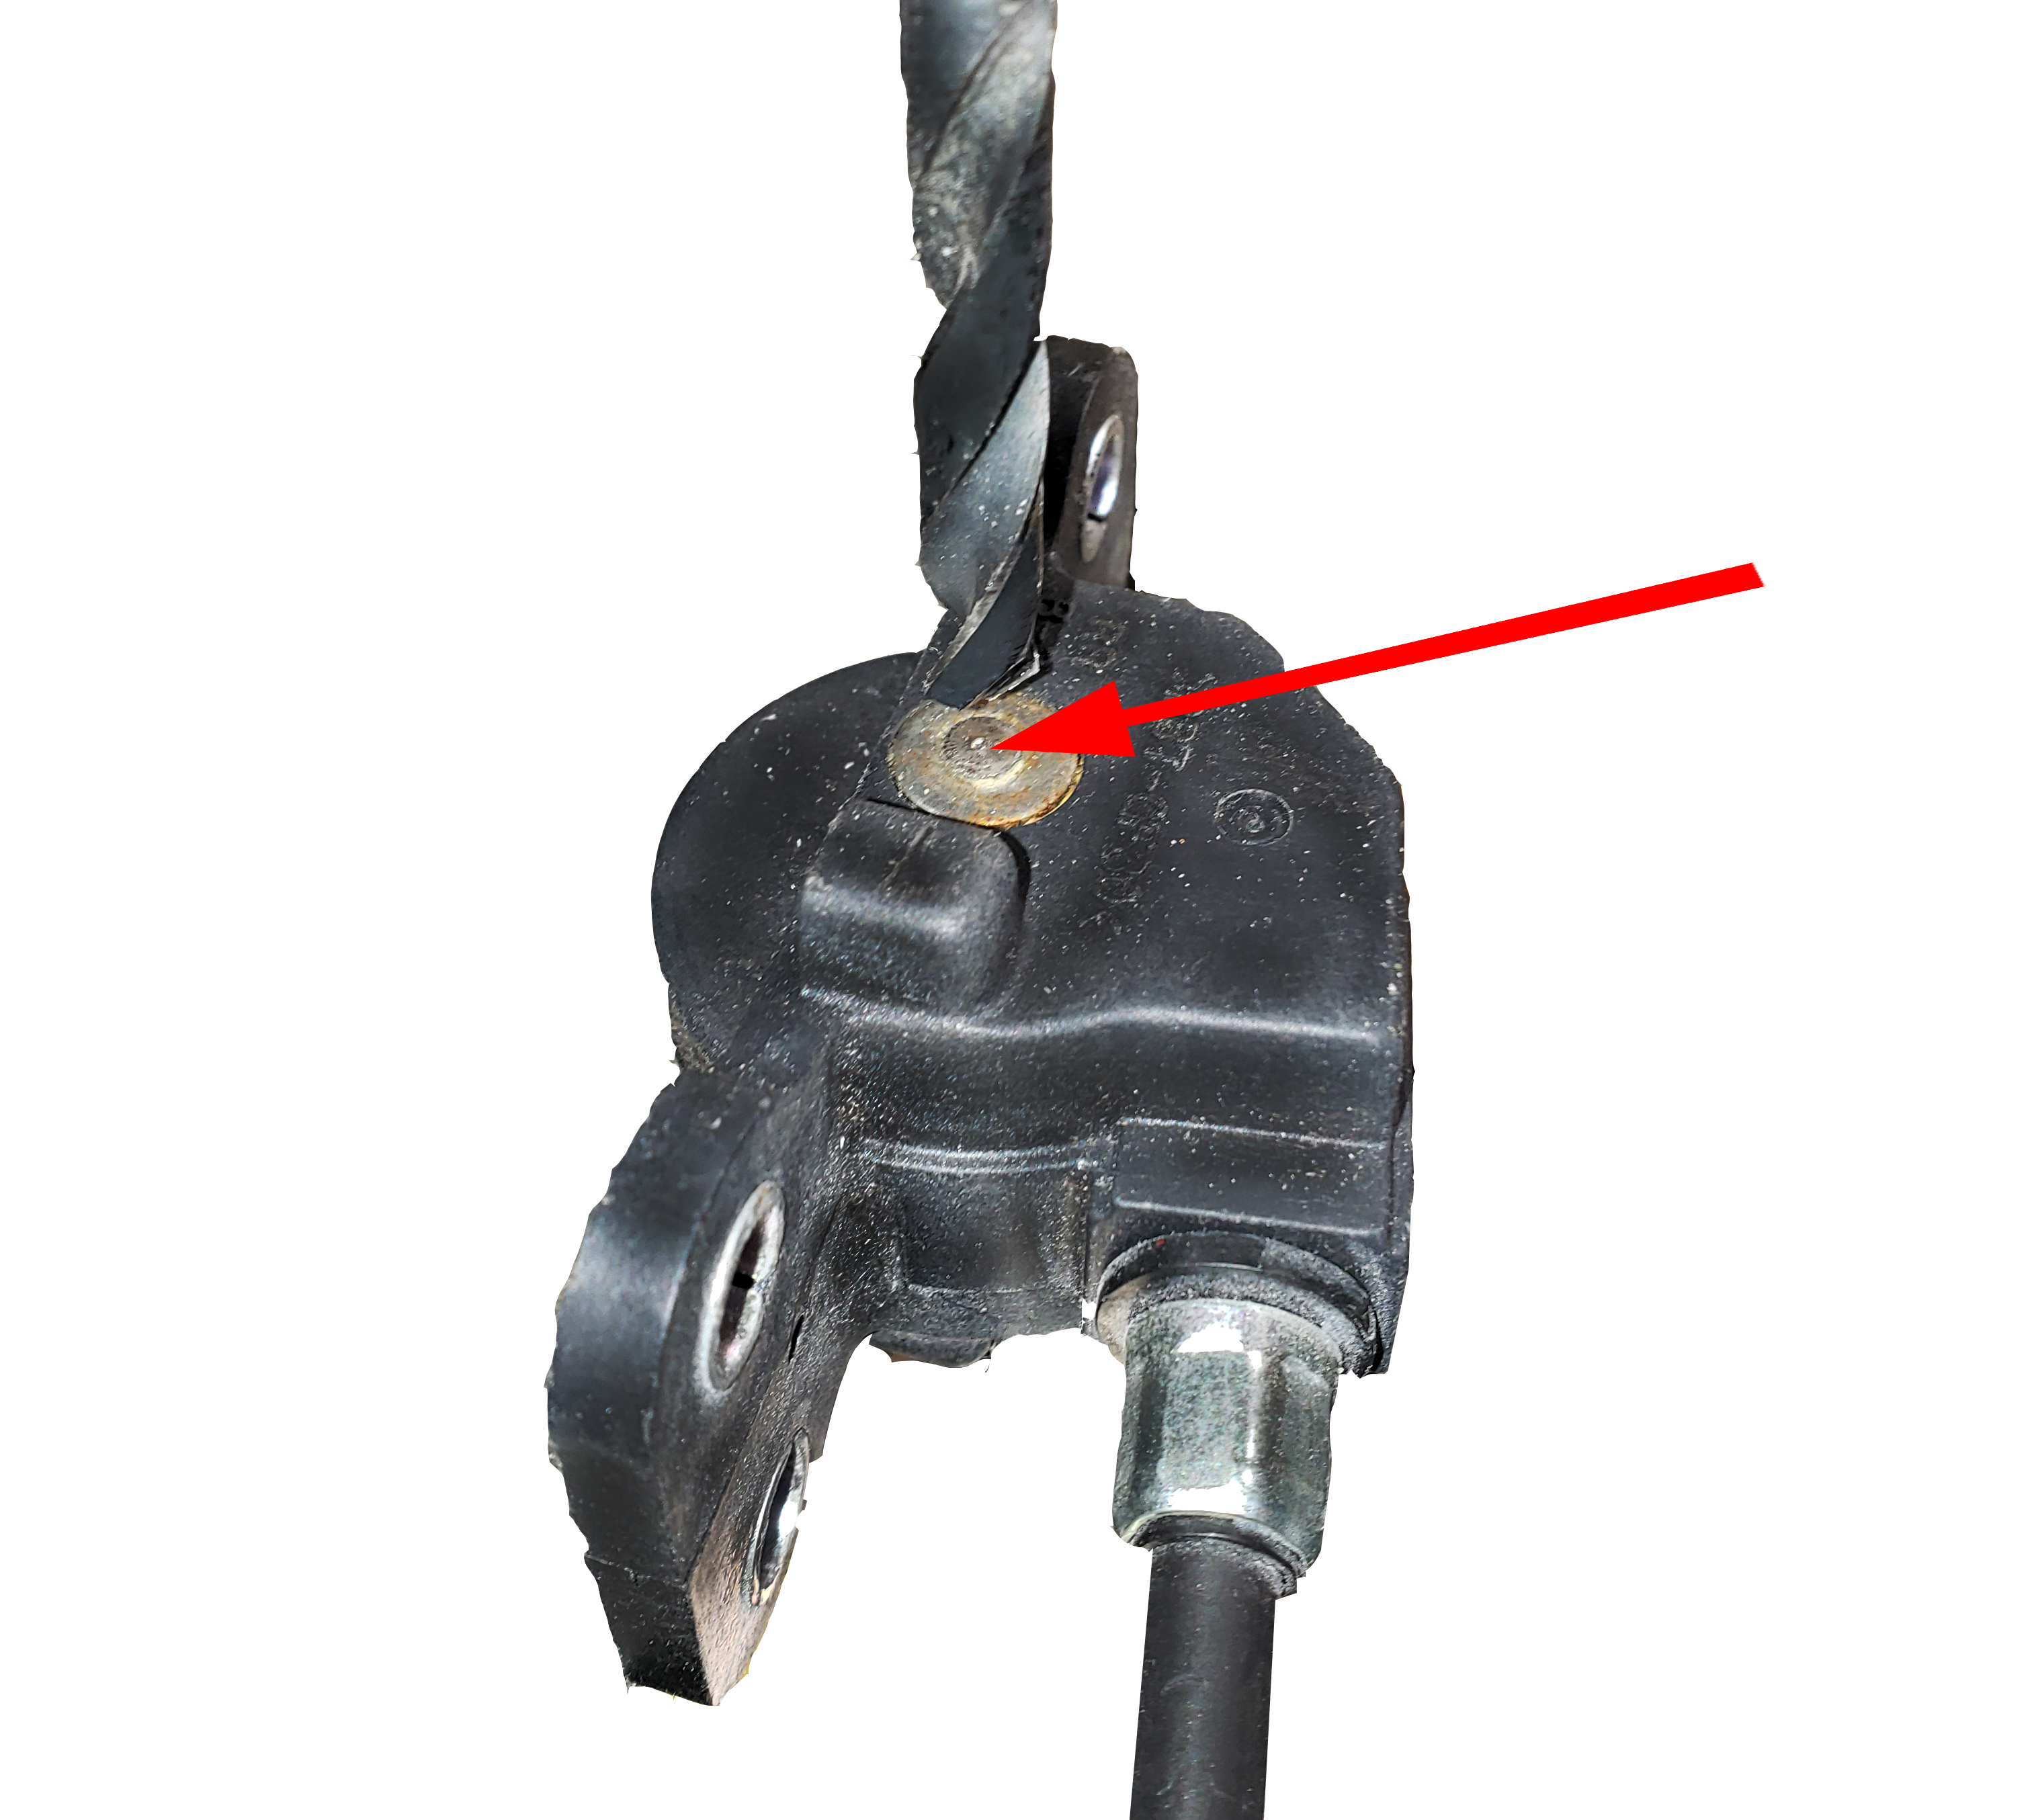
Drill deep enough to remove the washer looking piece.
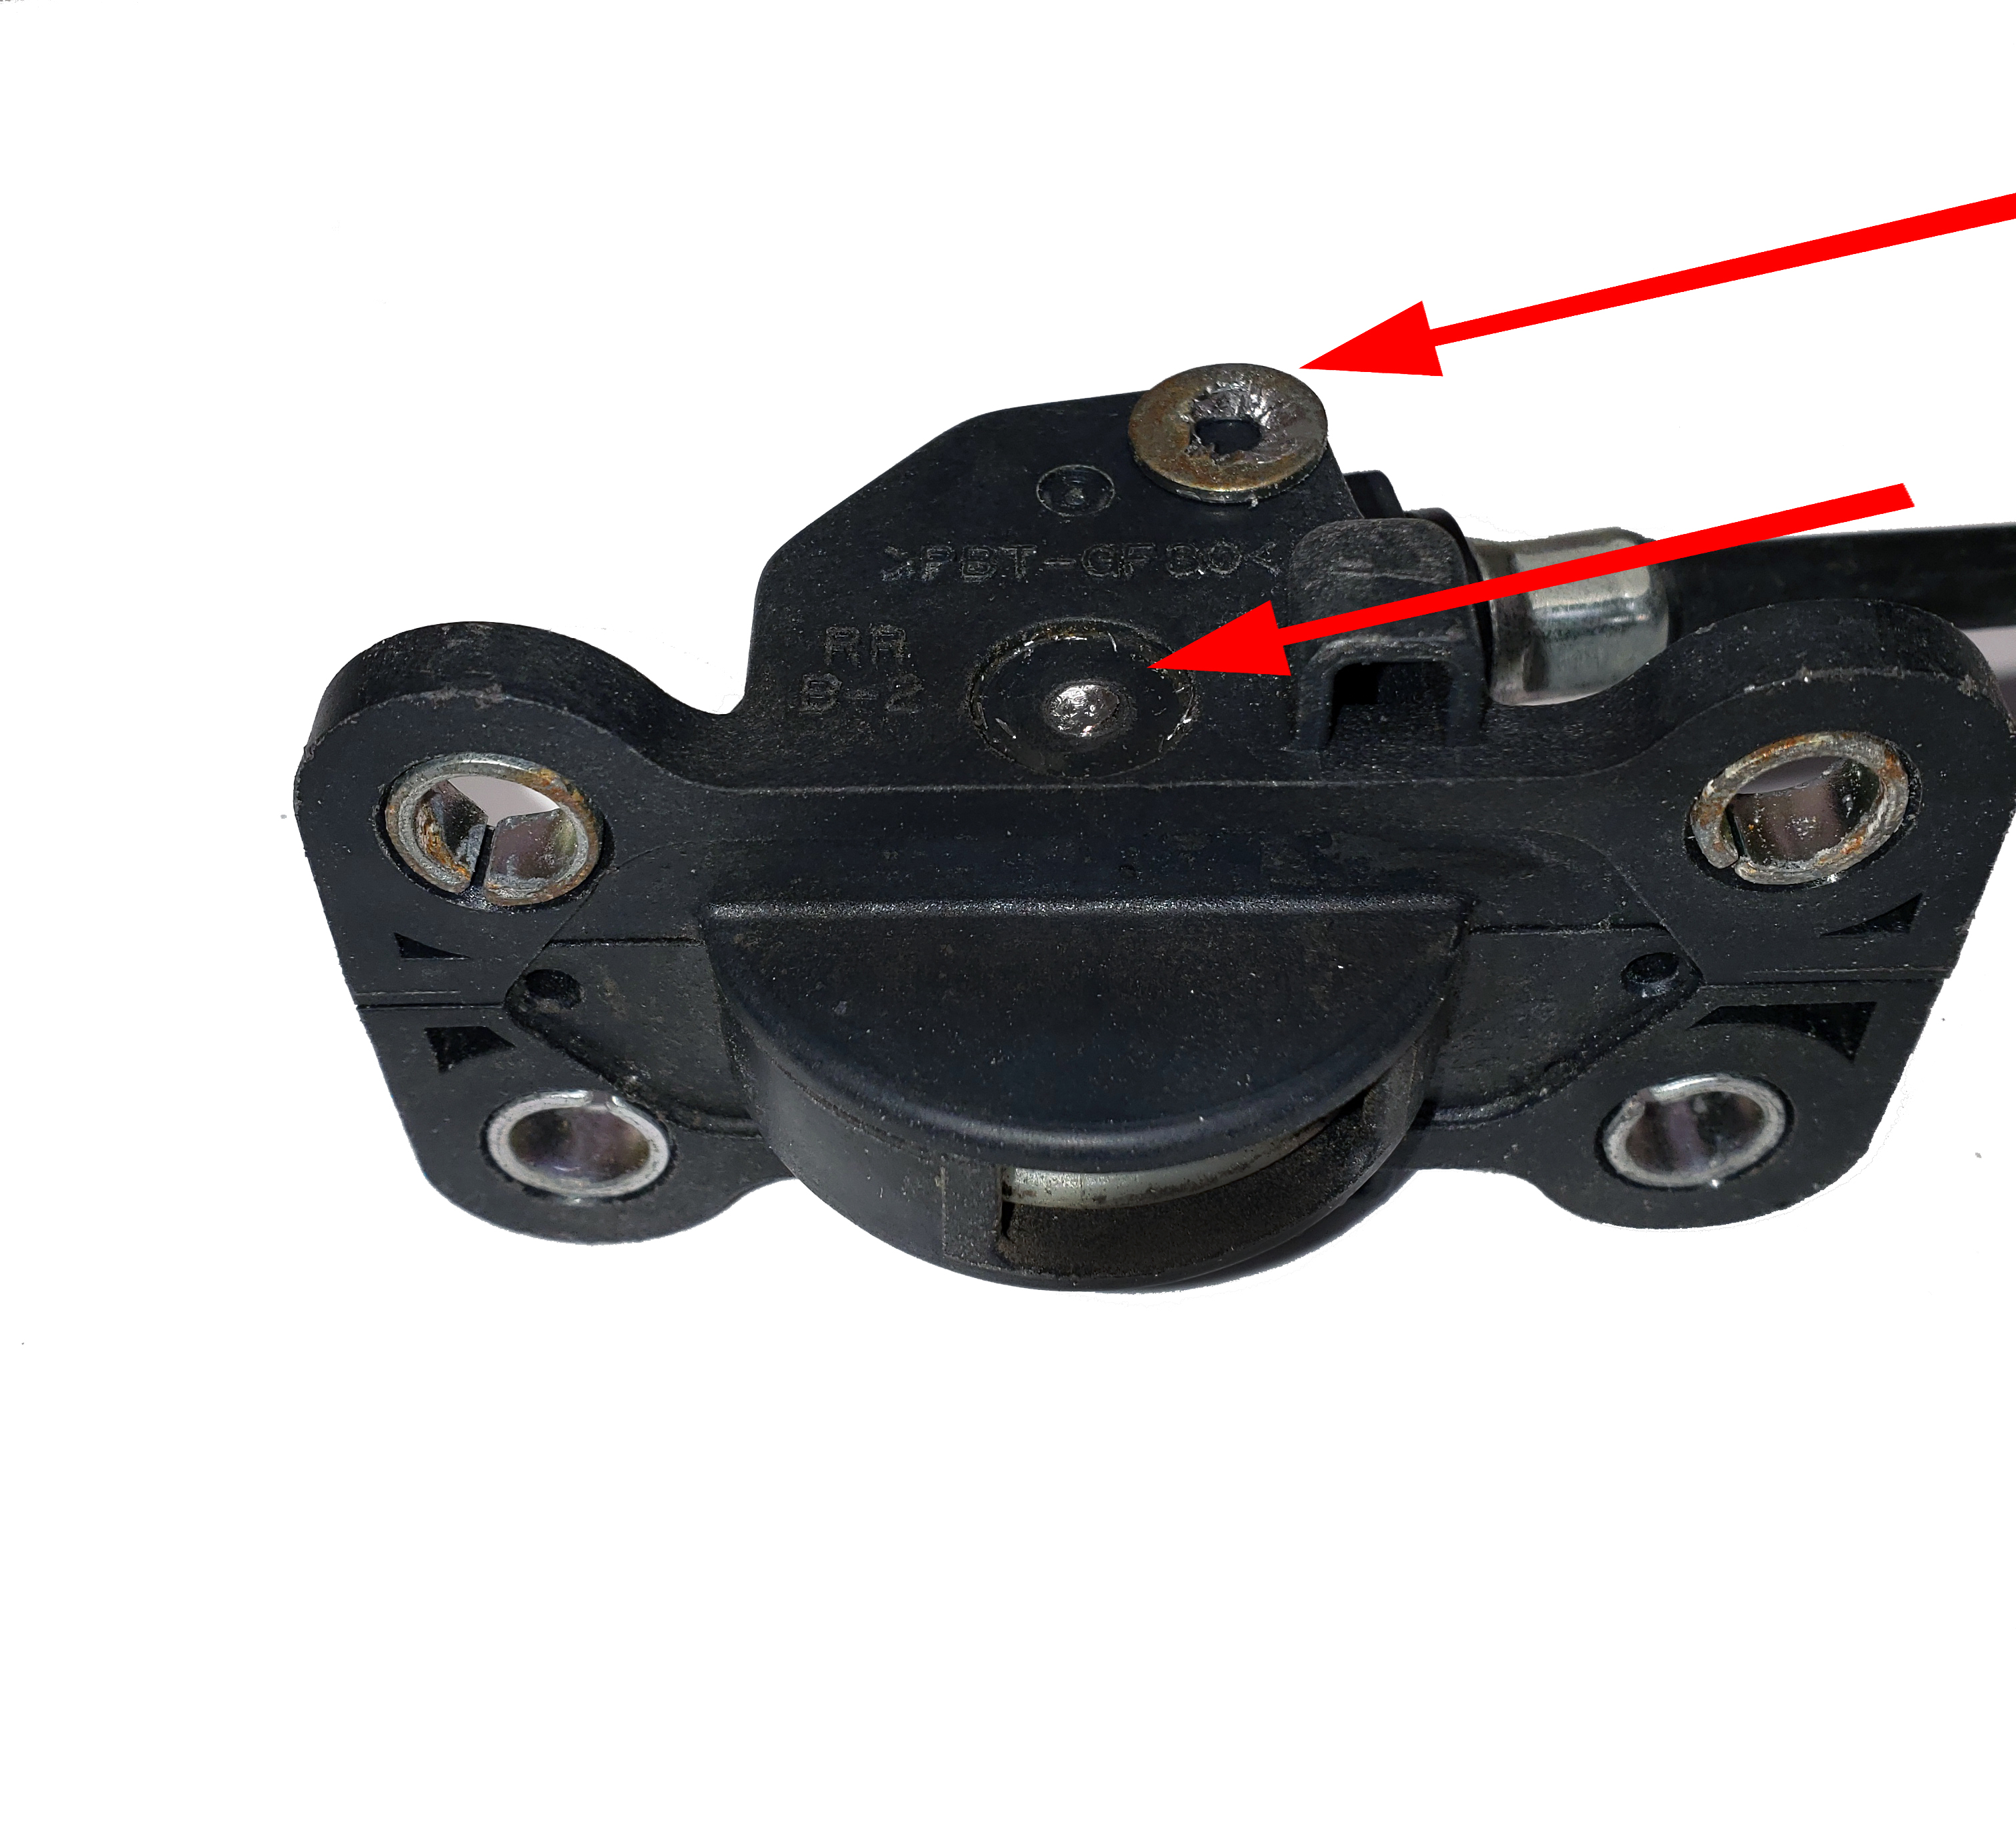
The hole will need to be drilled out to open the one side, only drill about 3mm in. DO NOT DRILL ALL THE WAY THROUGH!
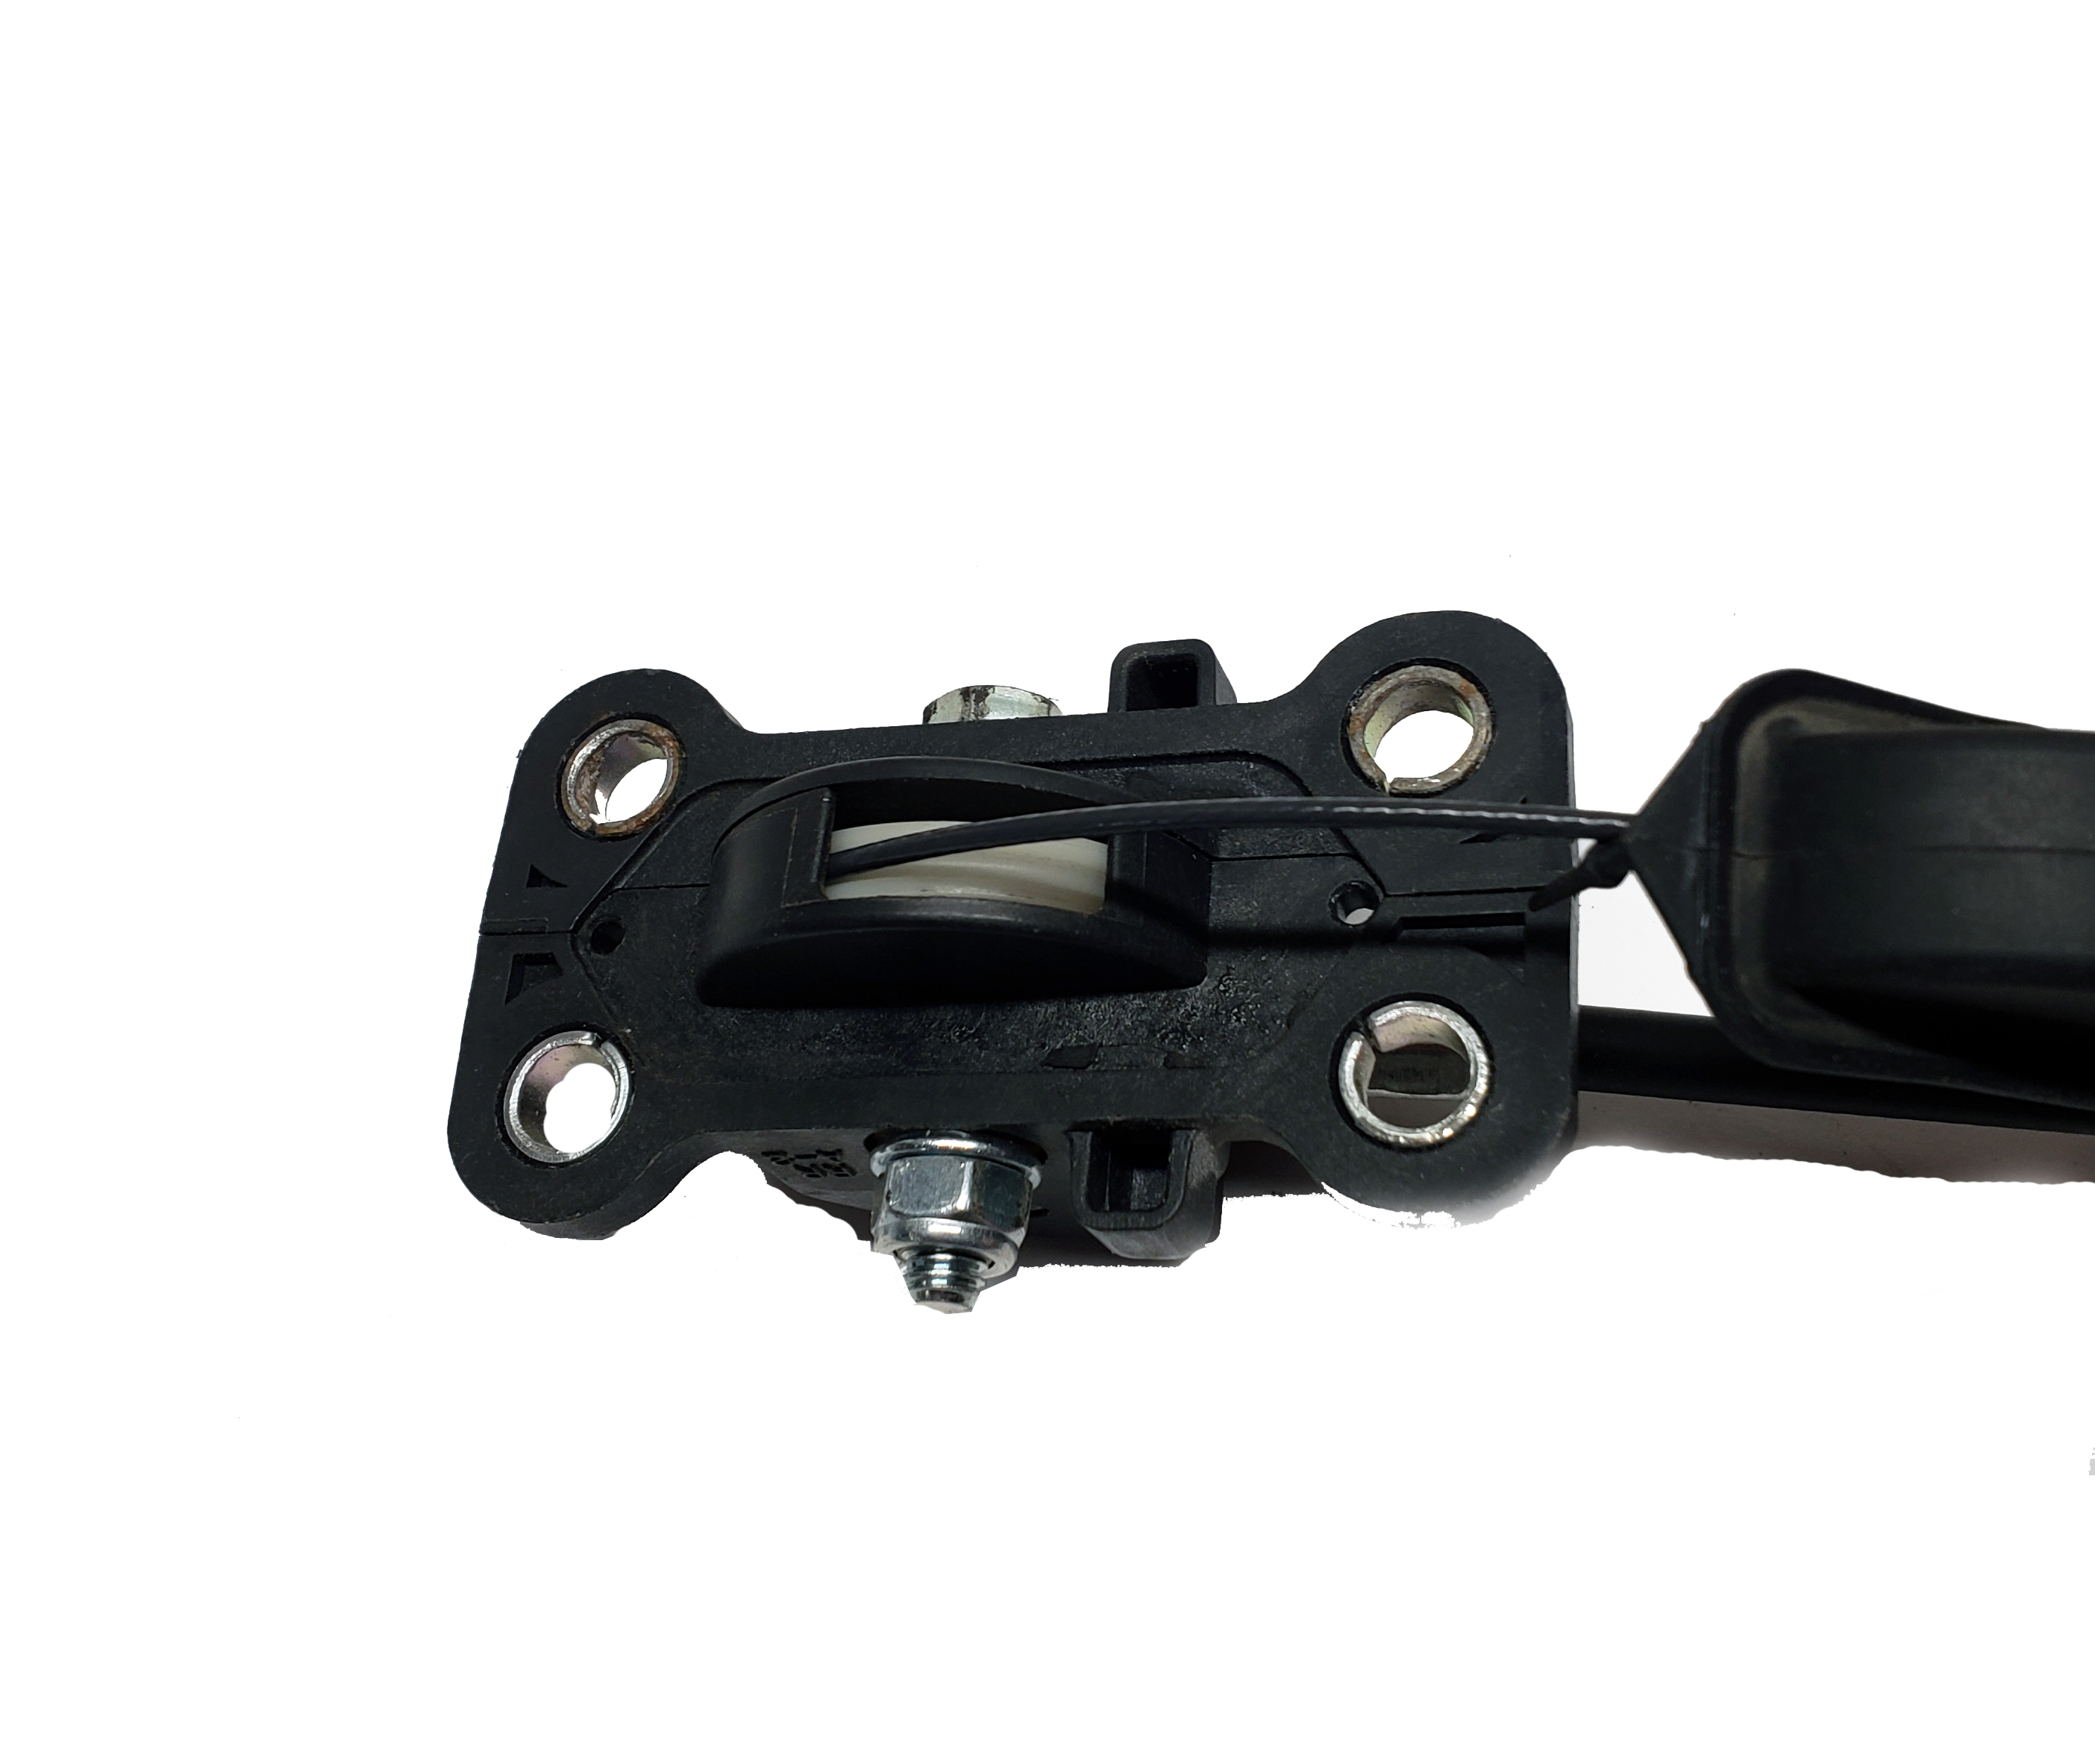
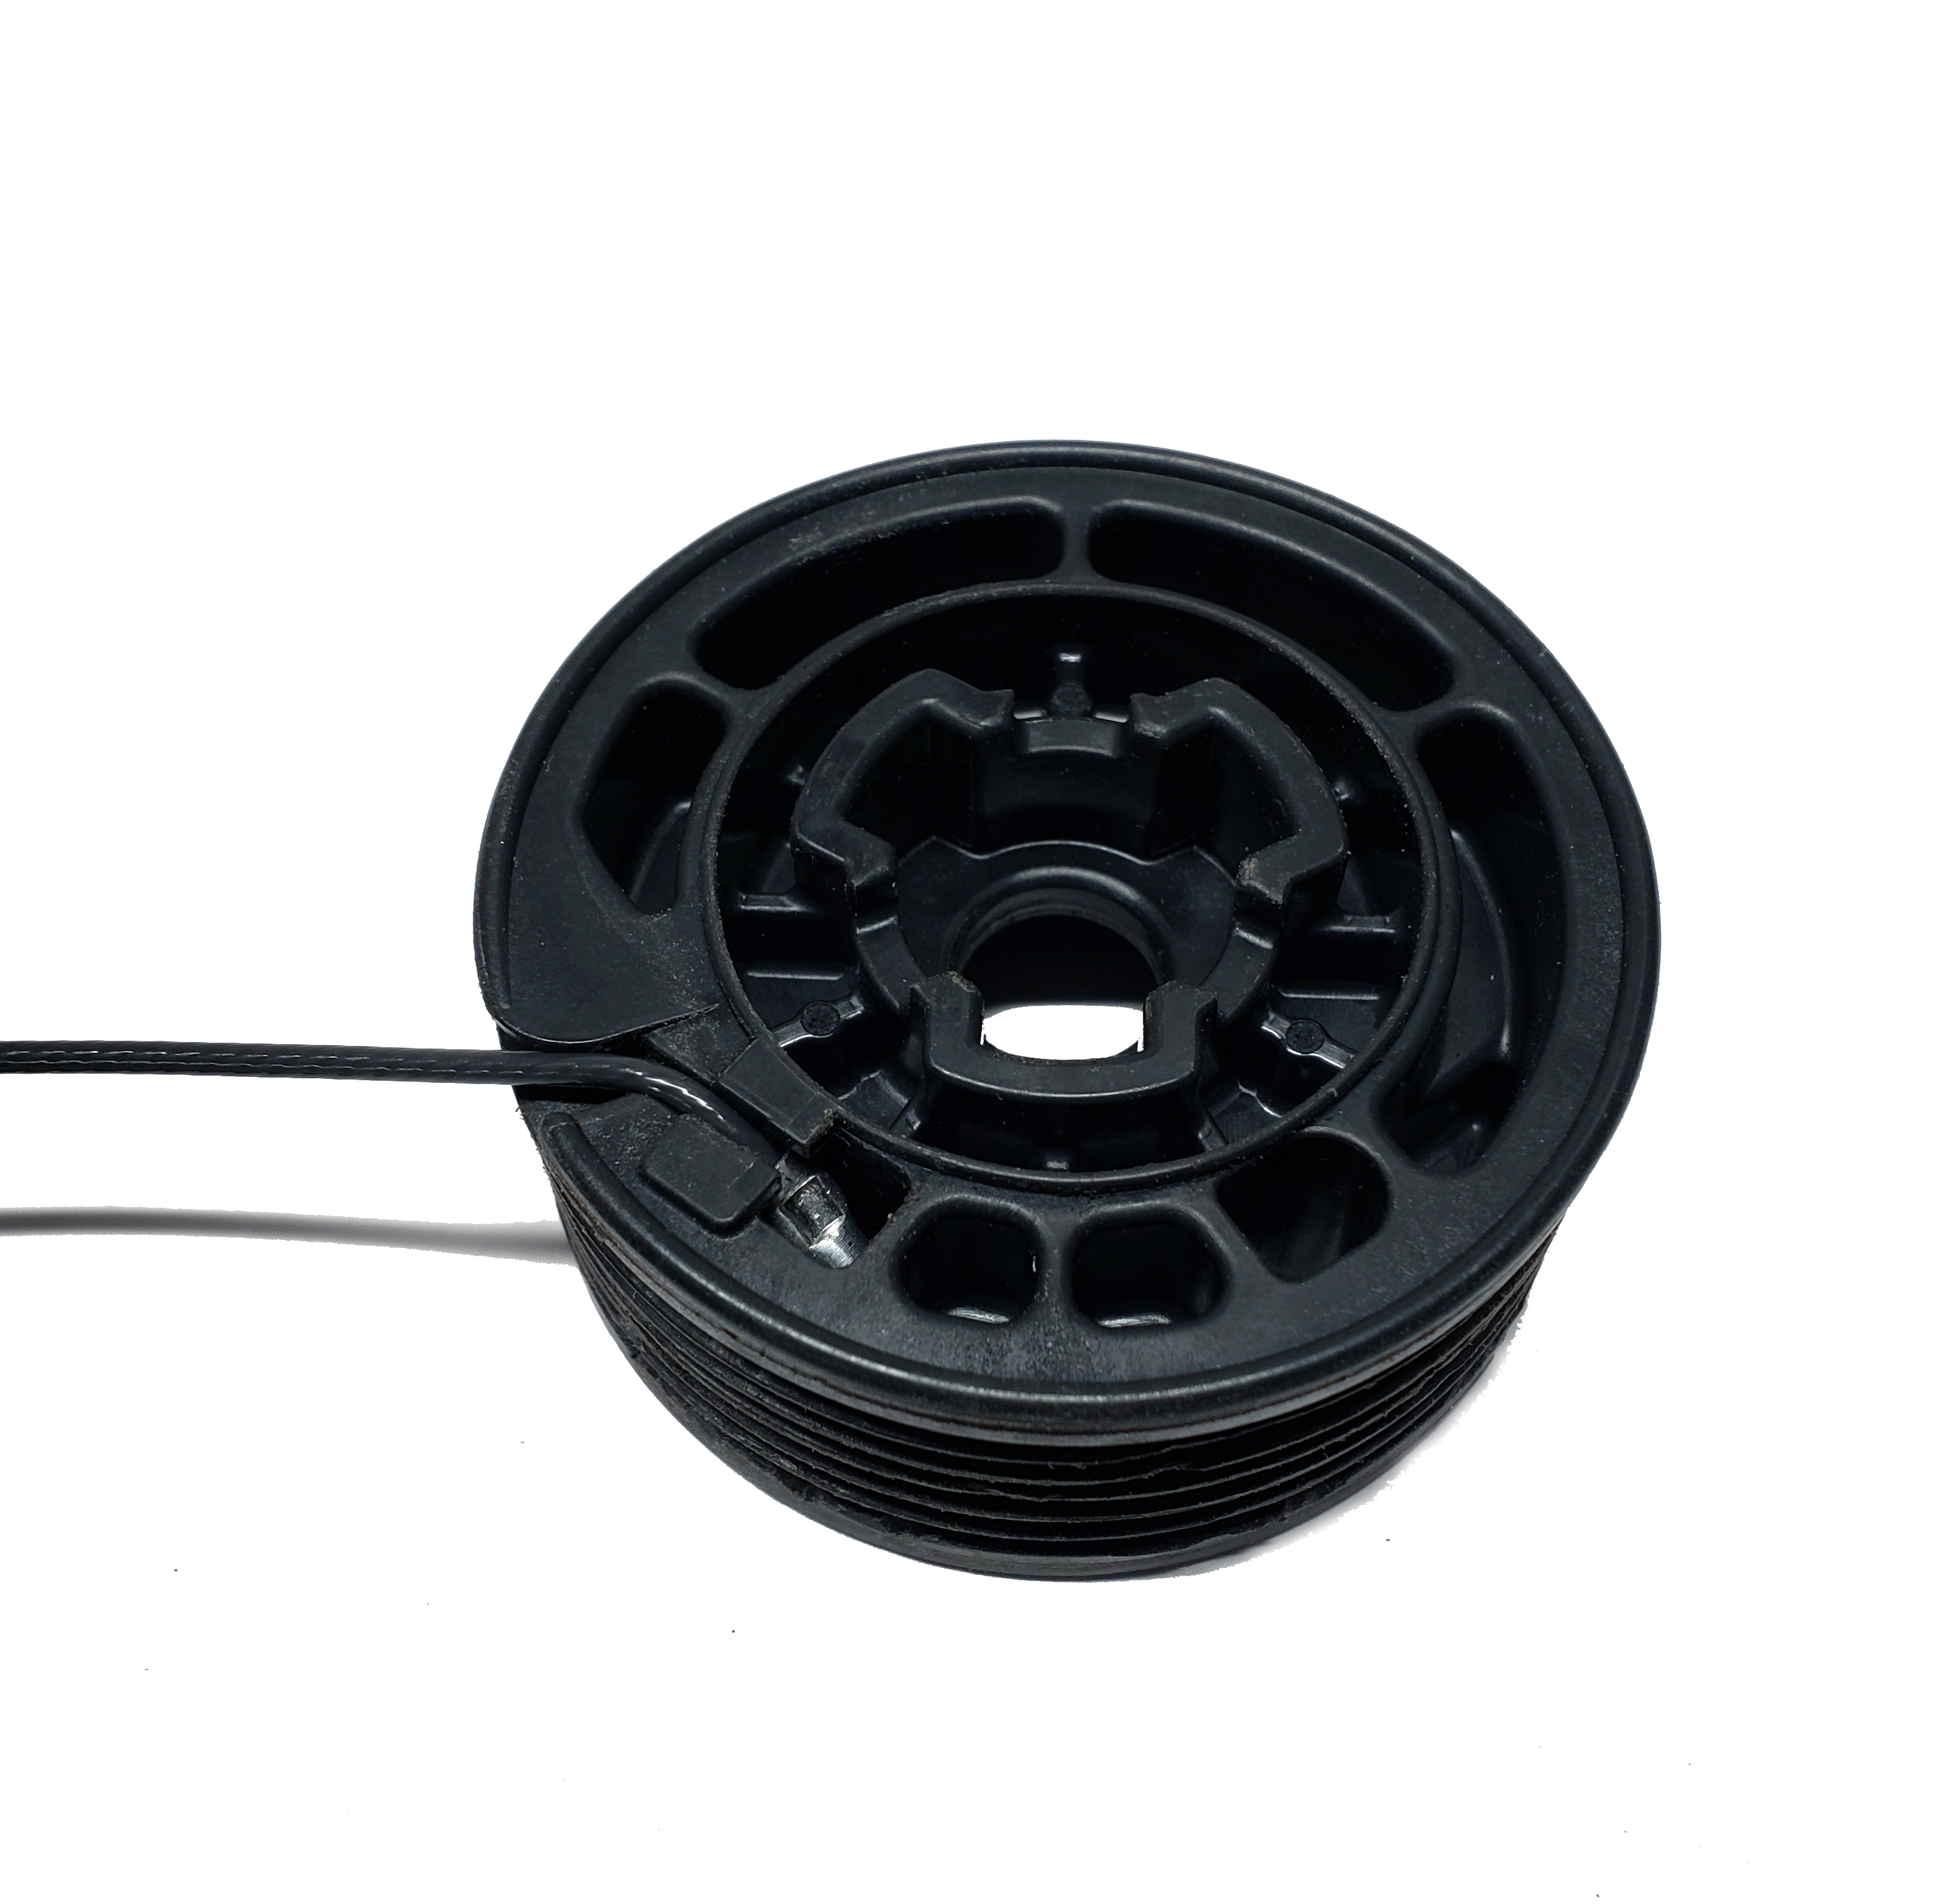
Shown without the original pulley axle removed.

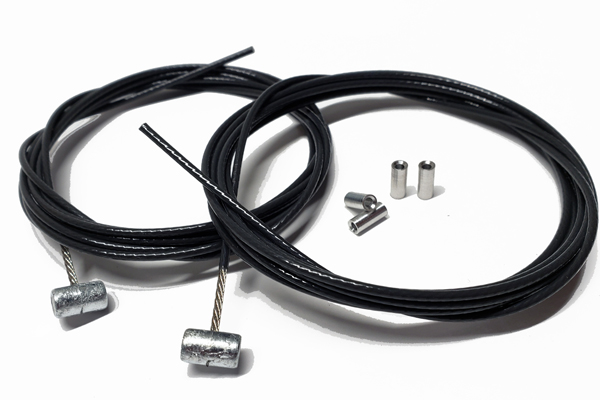
Gather the parts
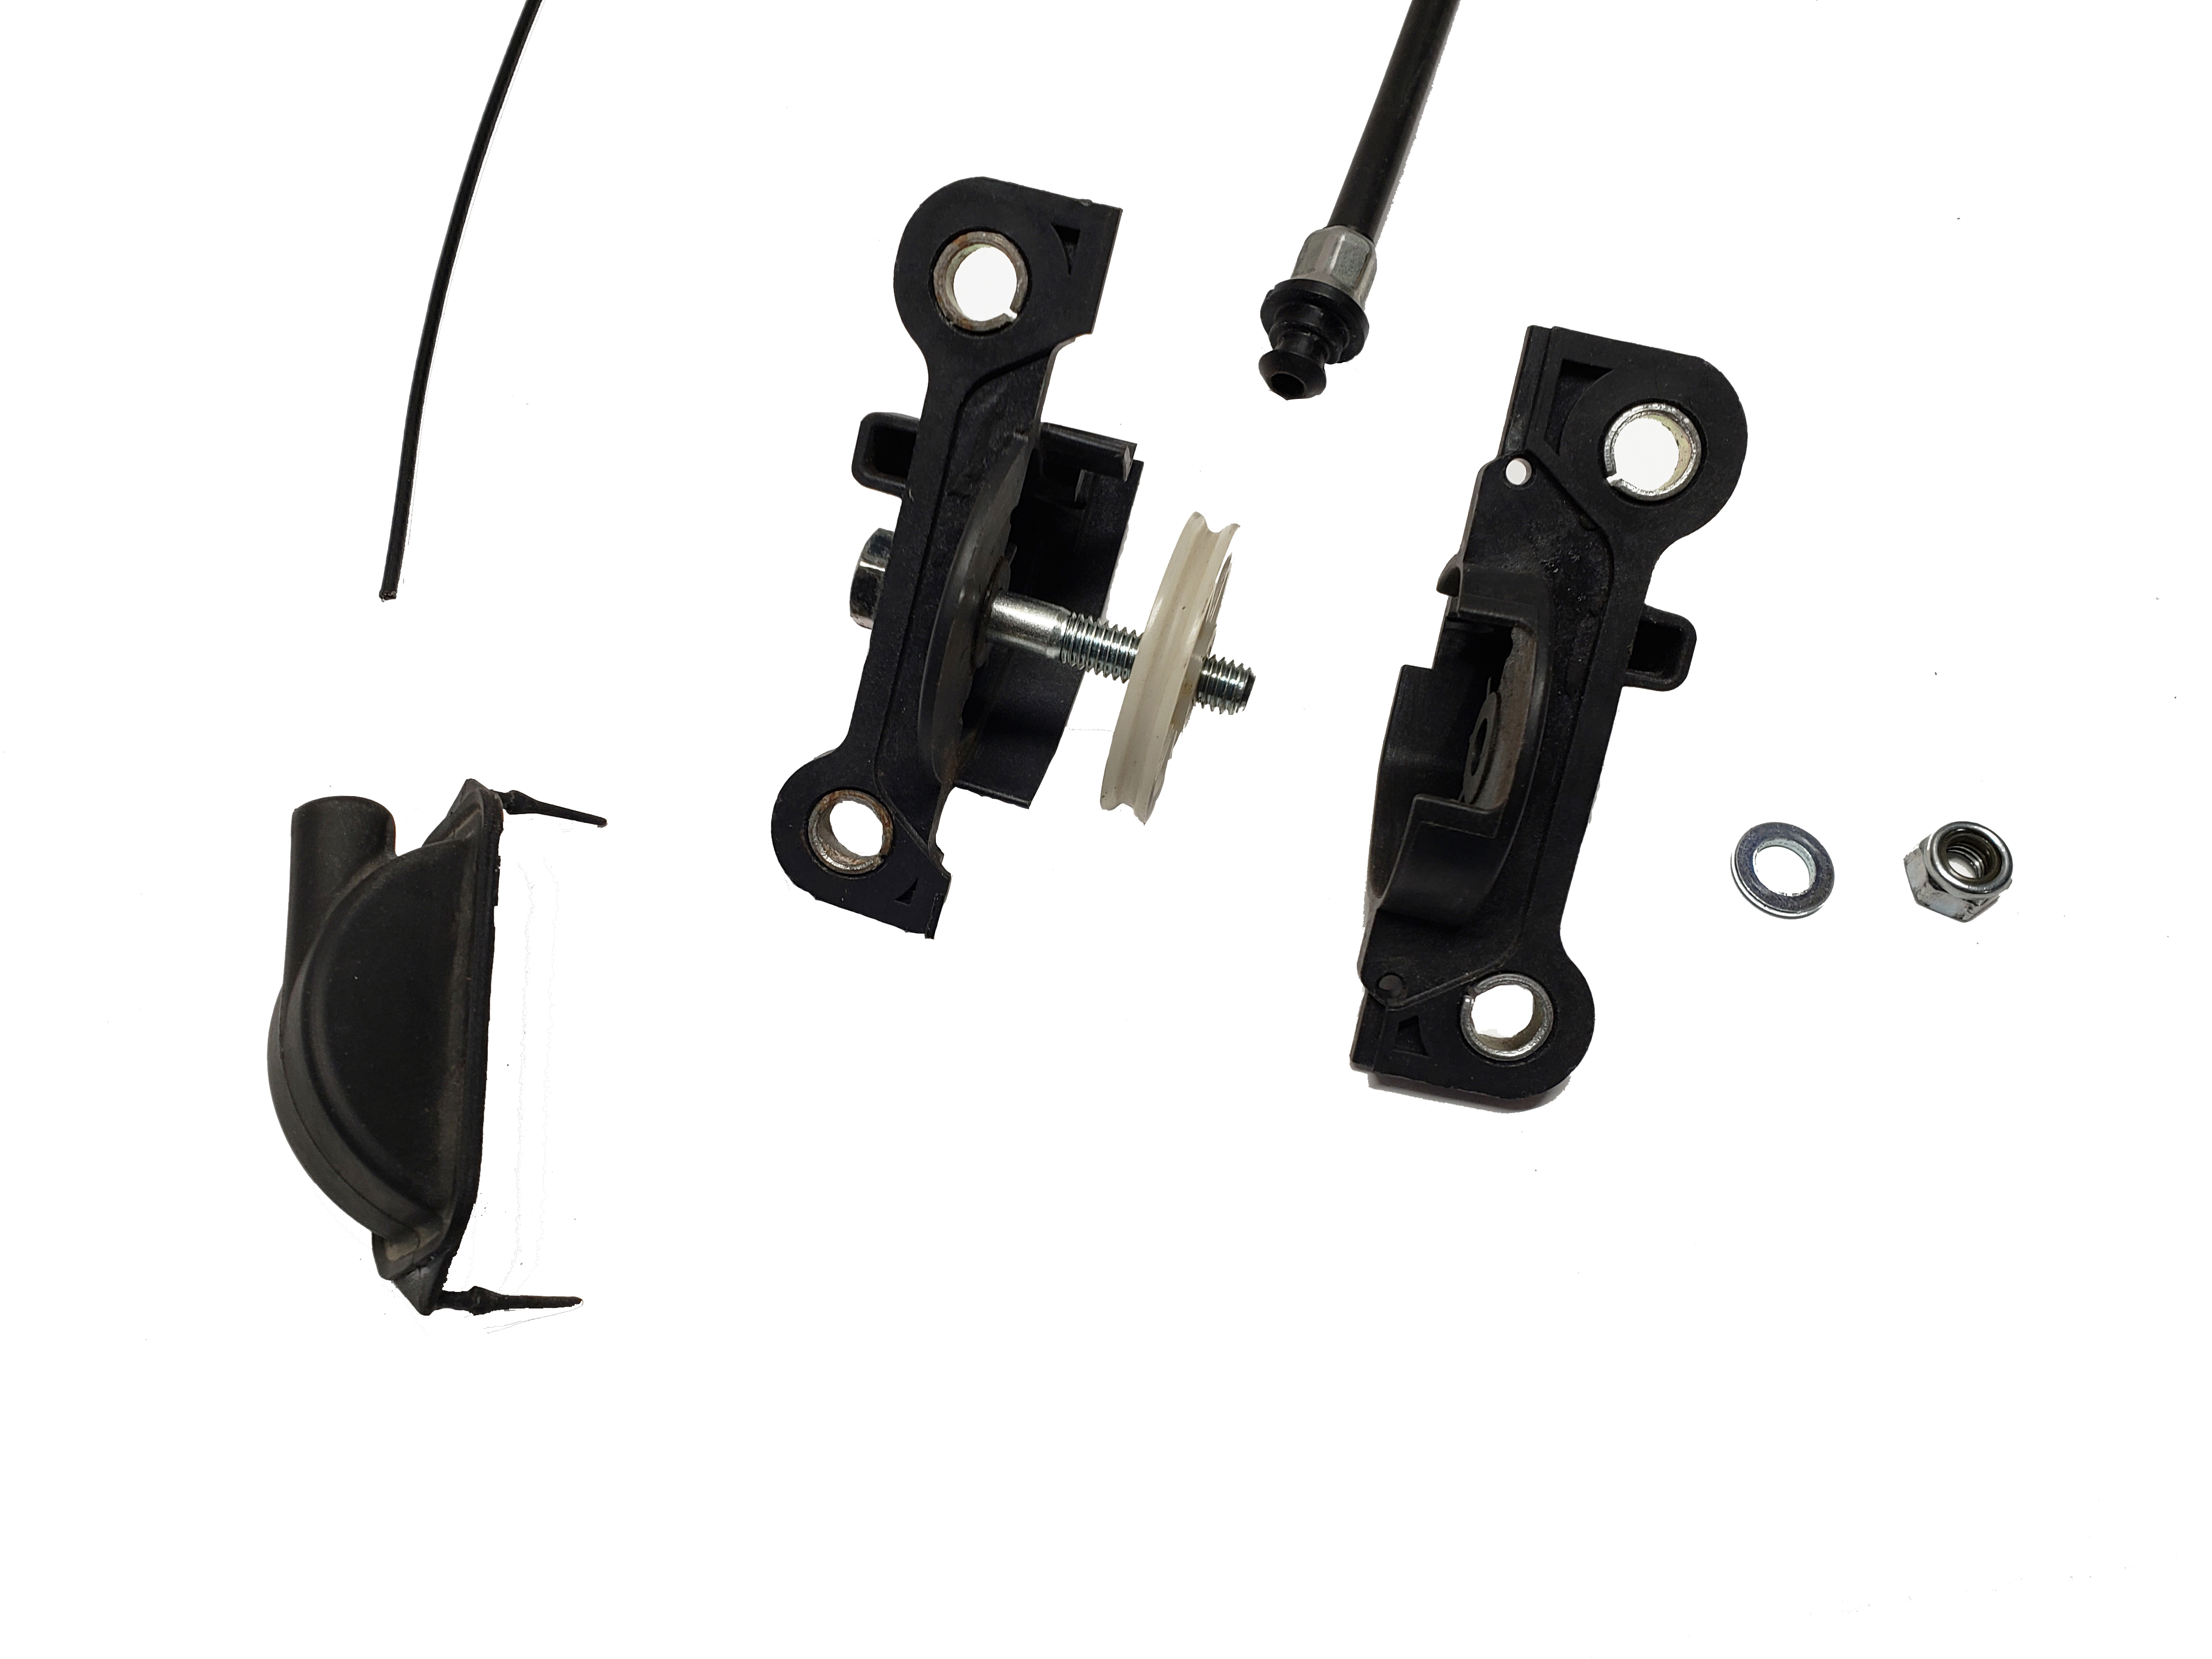
Assemble as shown
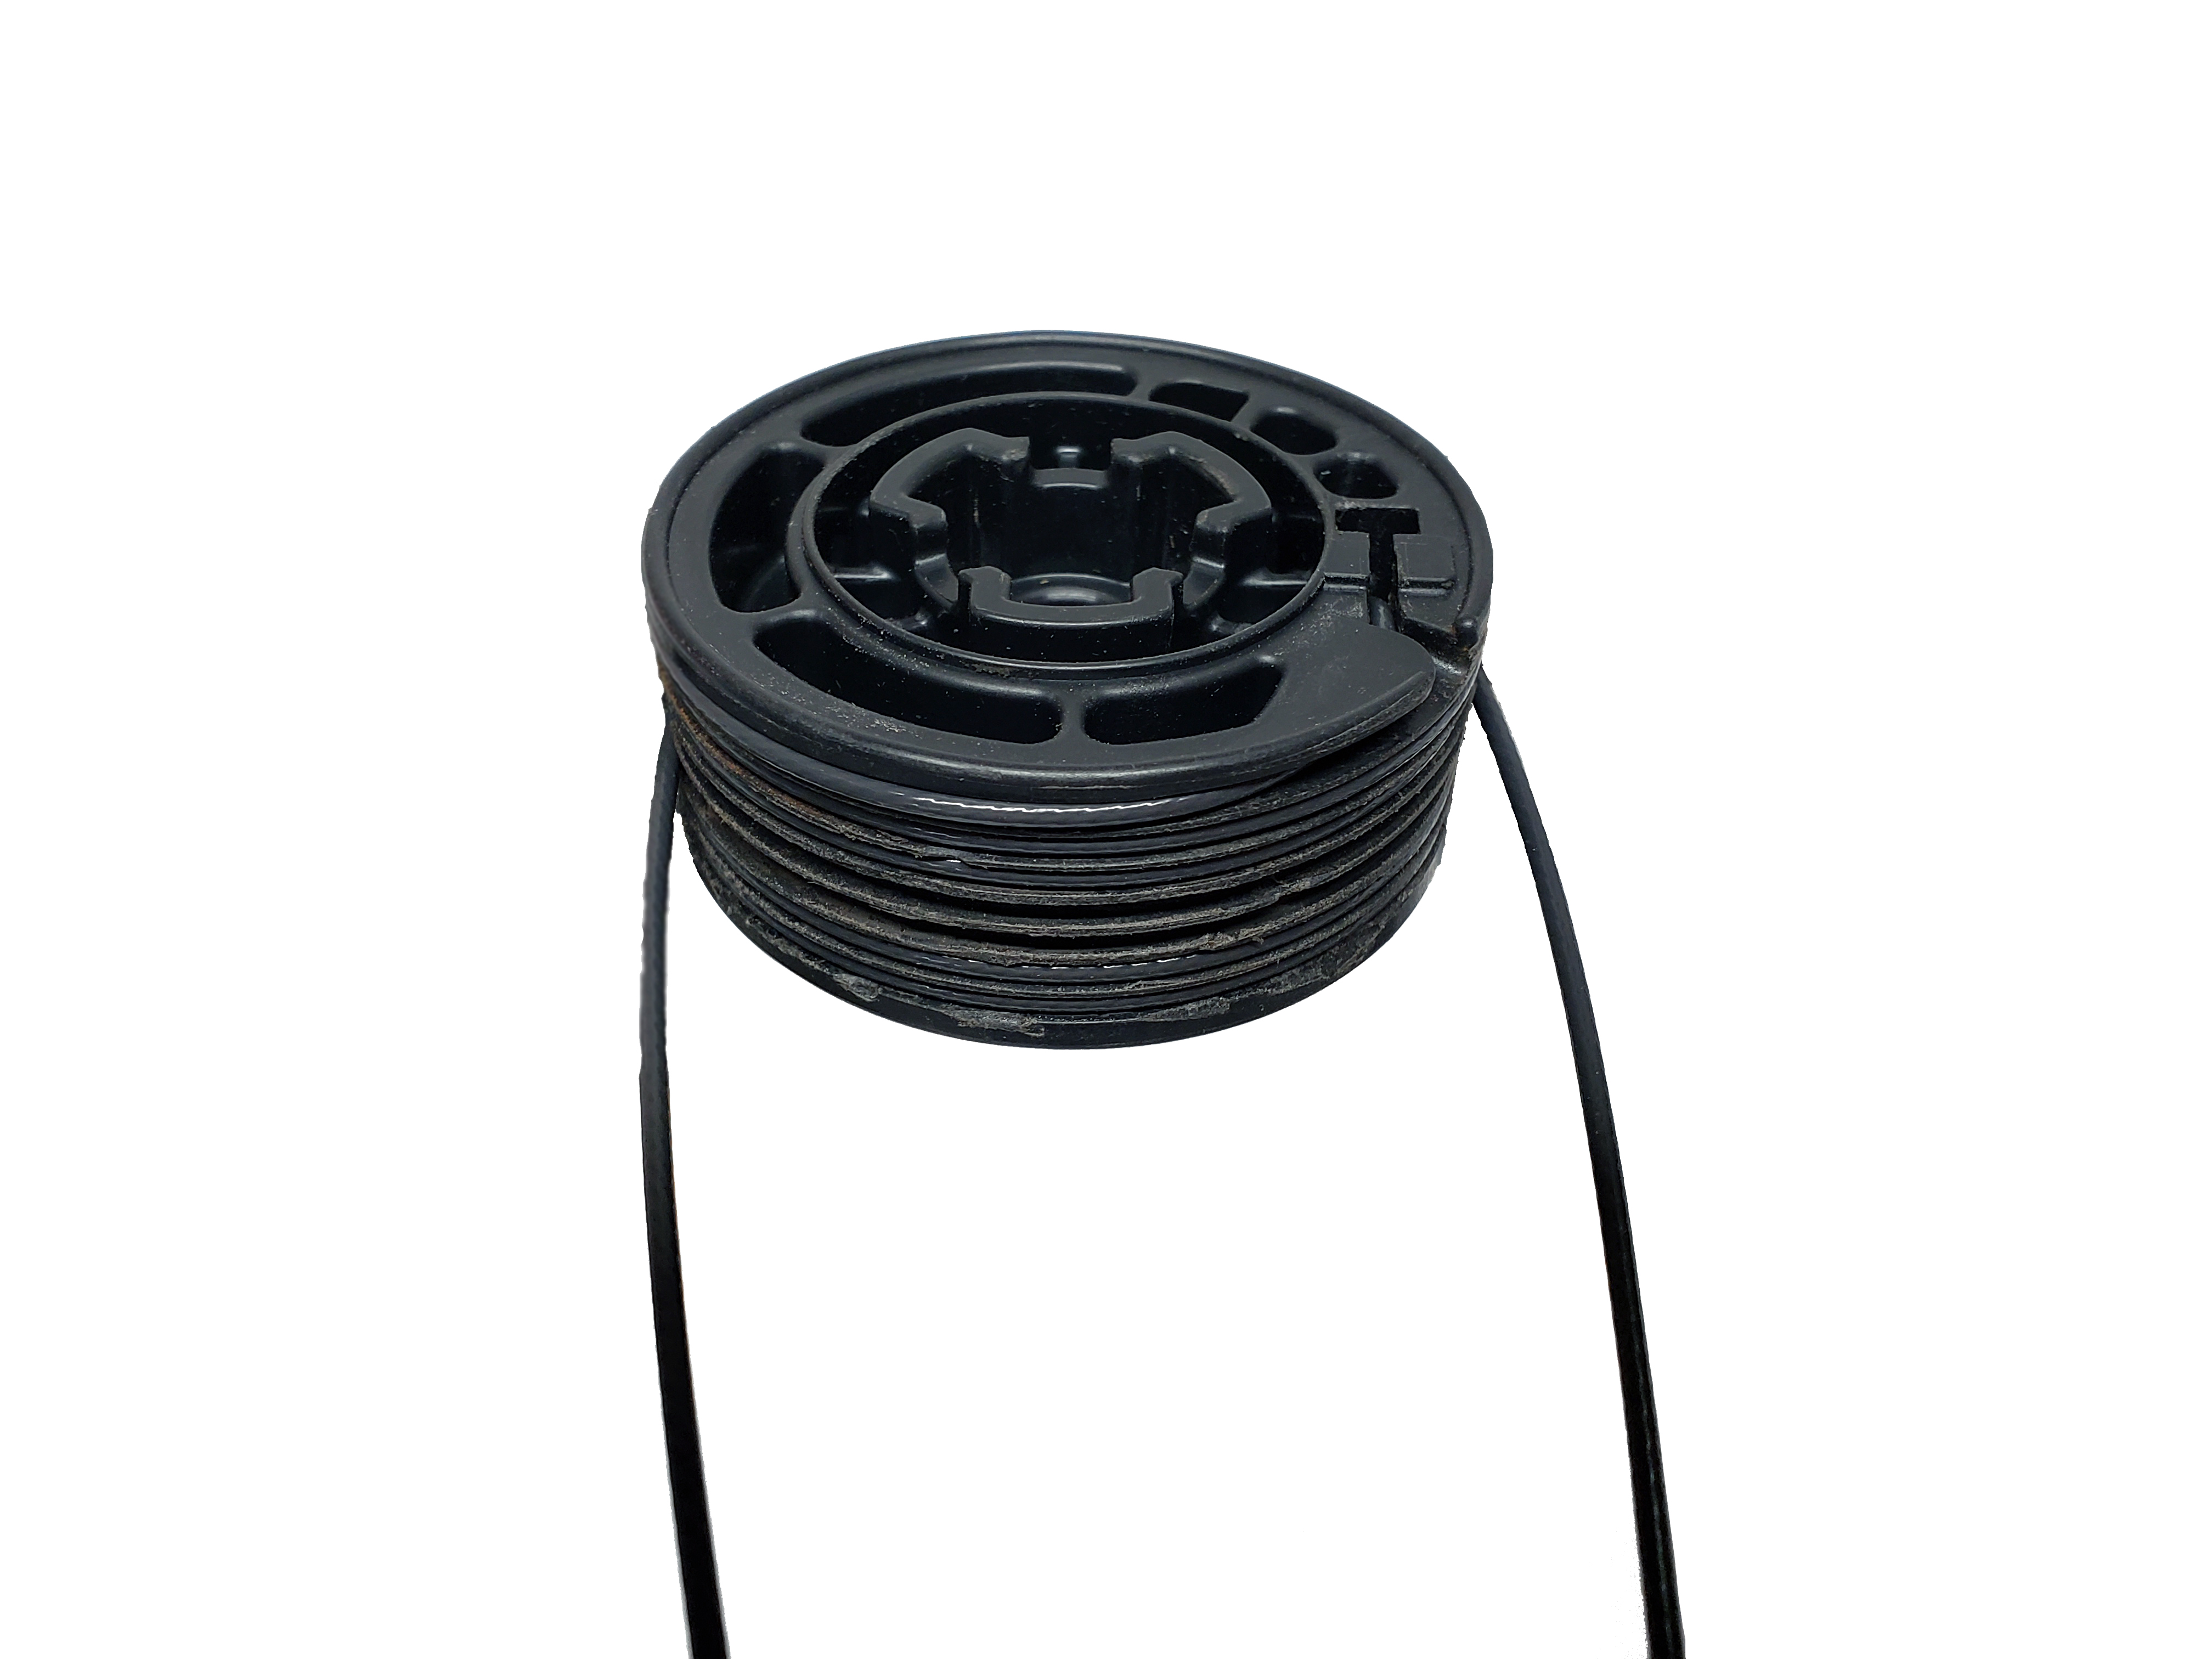
Do not over tighten the nylon nut. The pulley should spin freely.
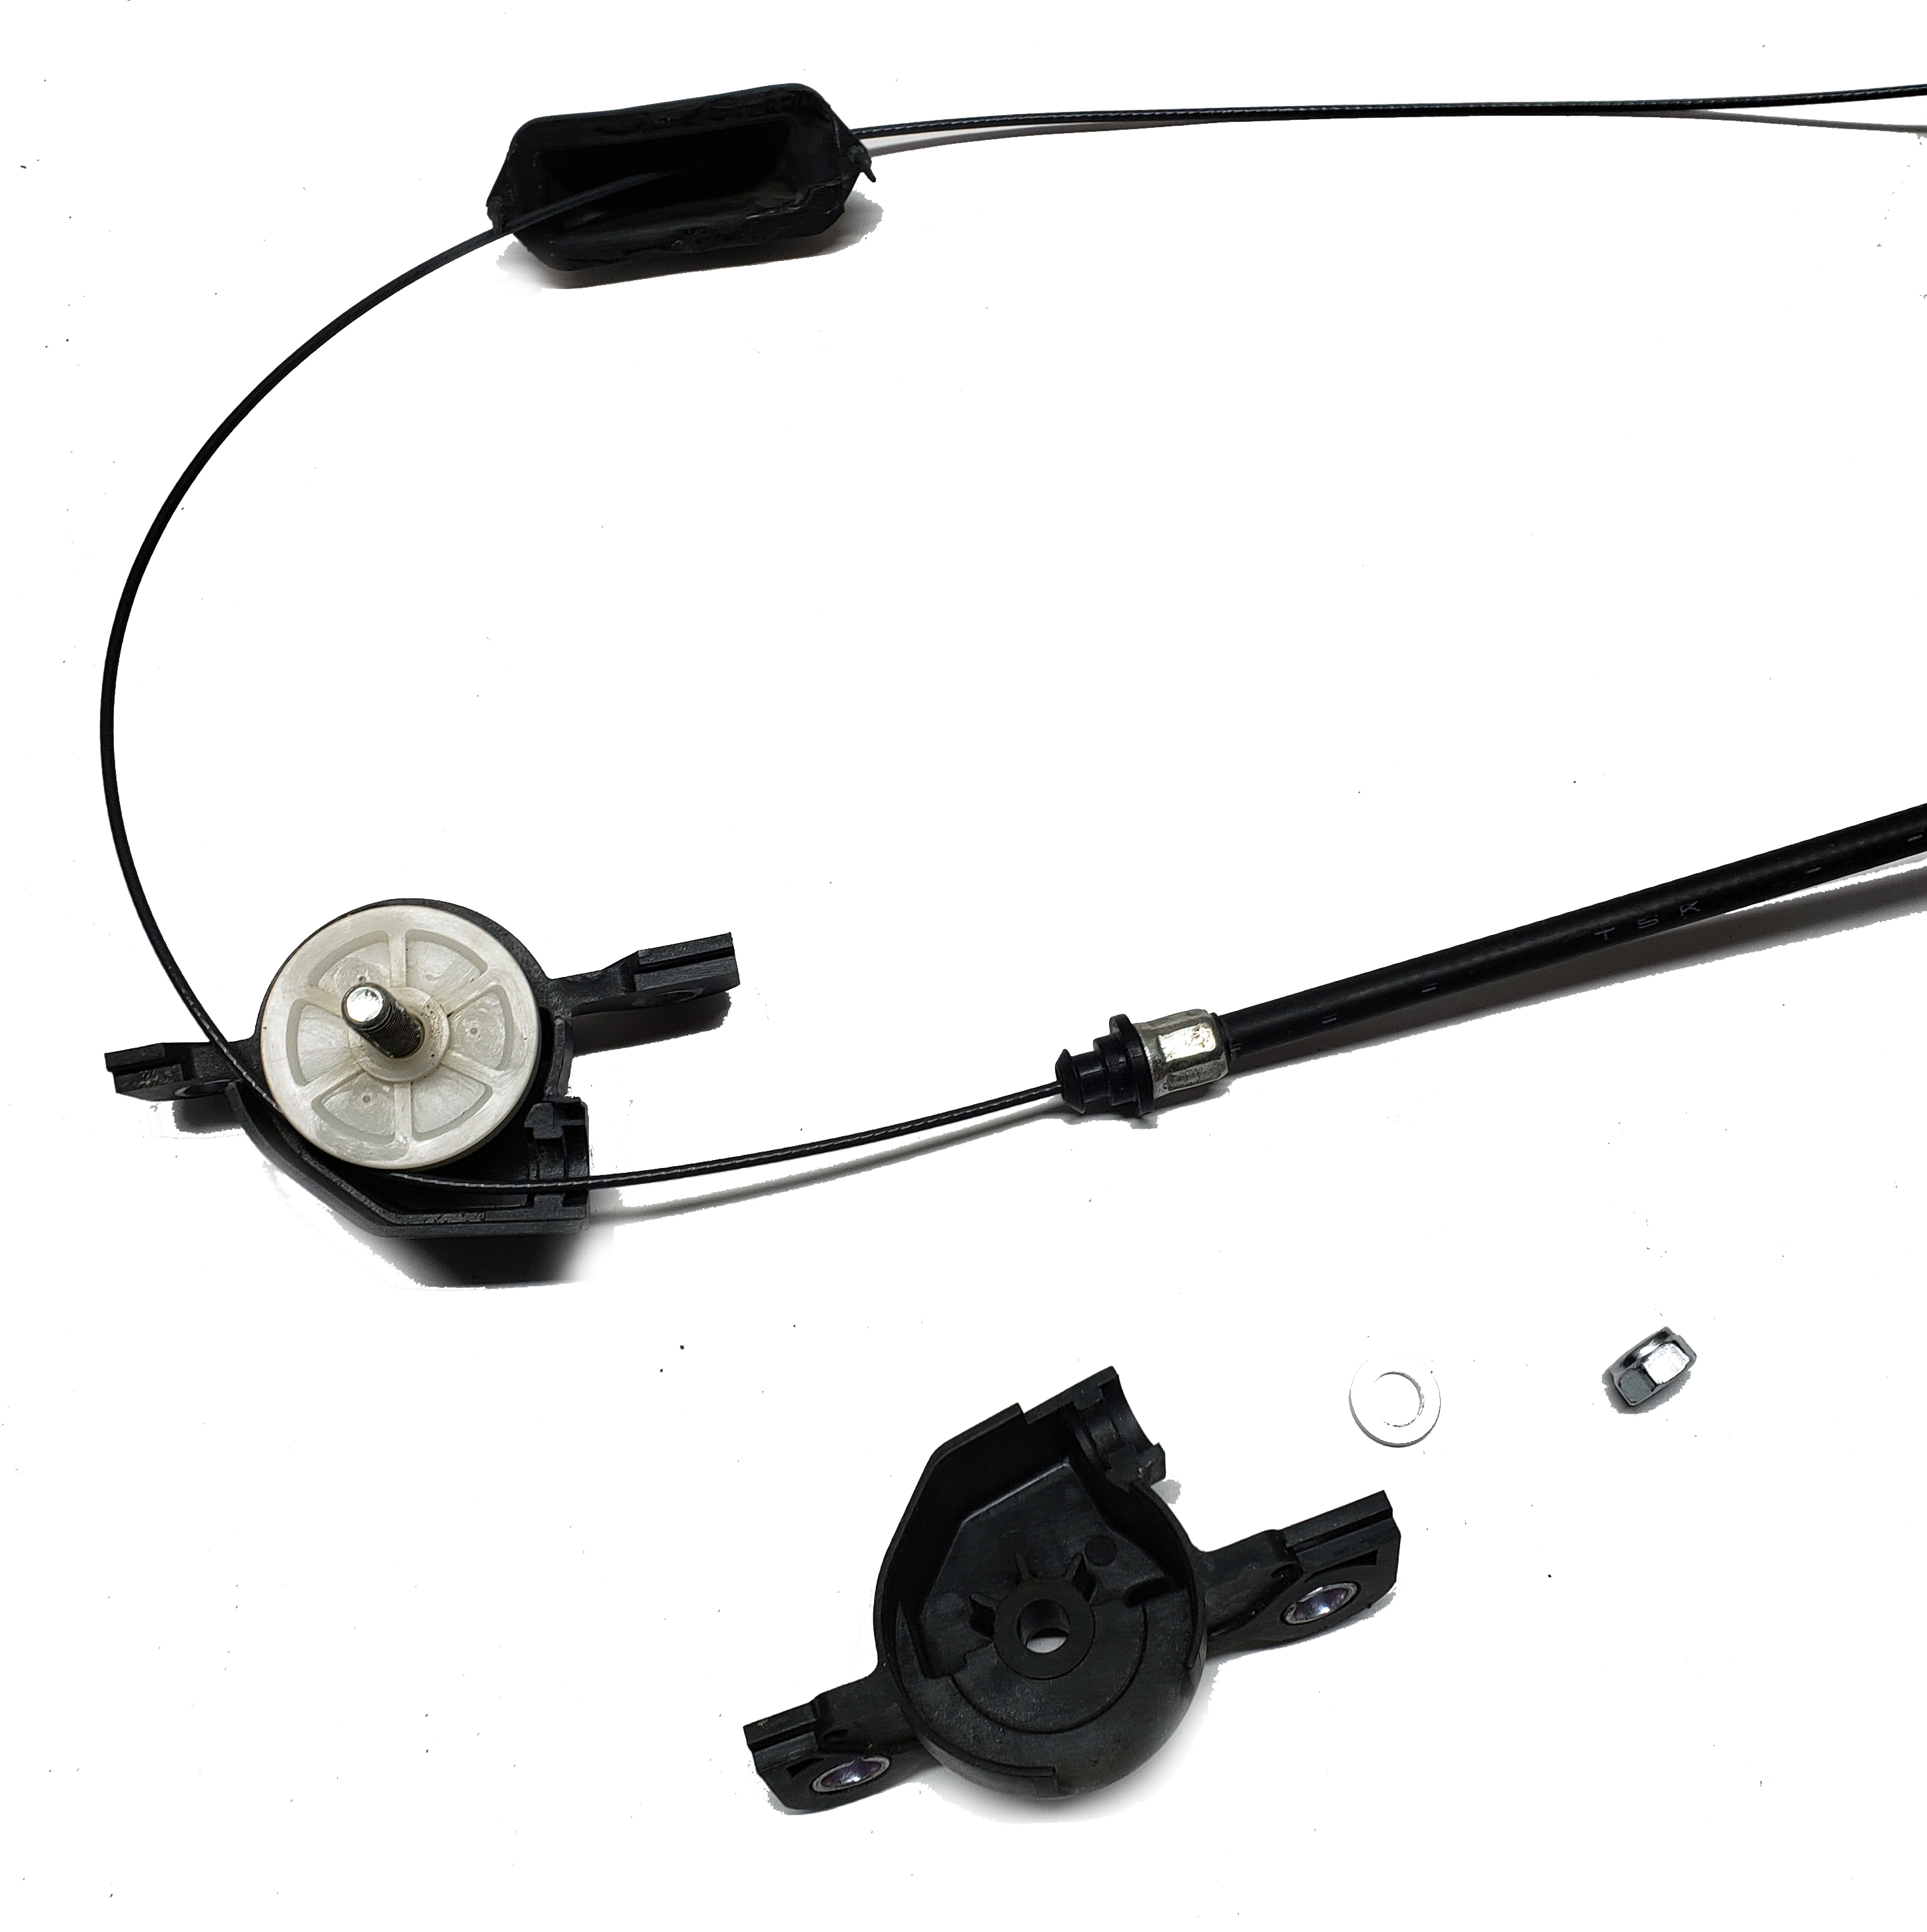
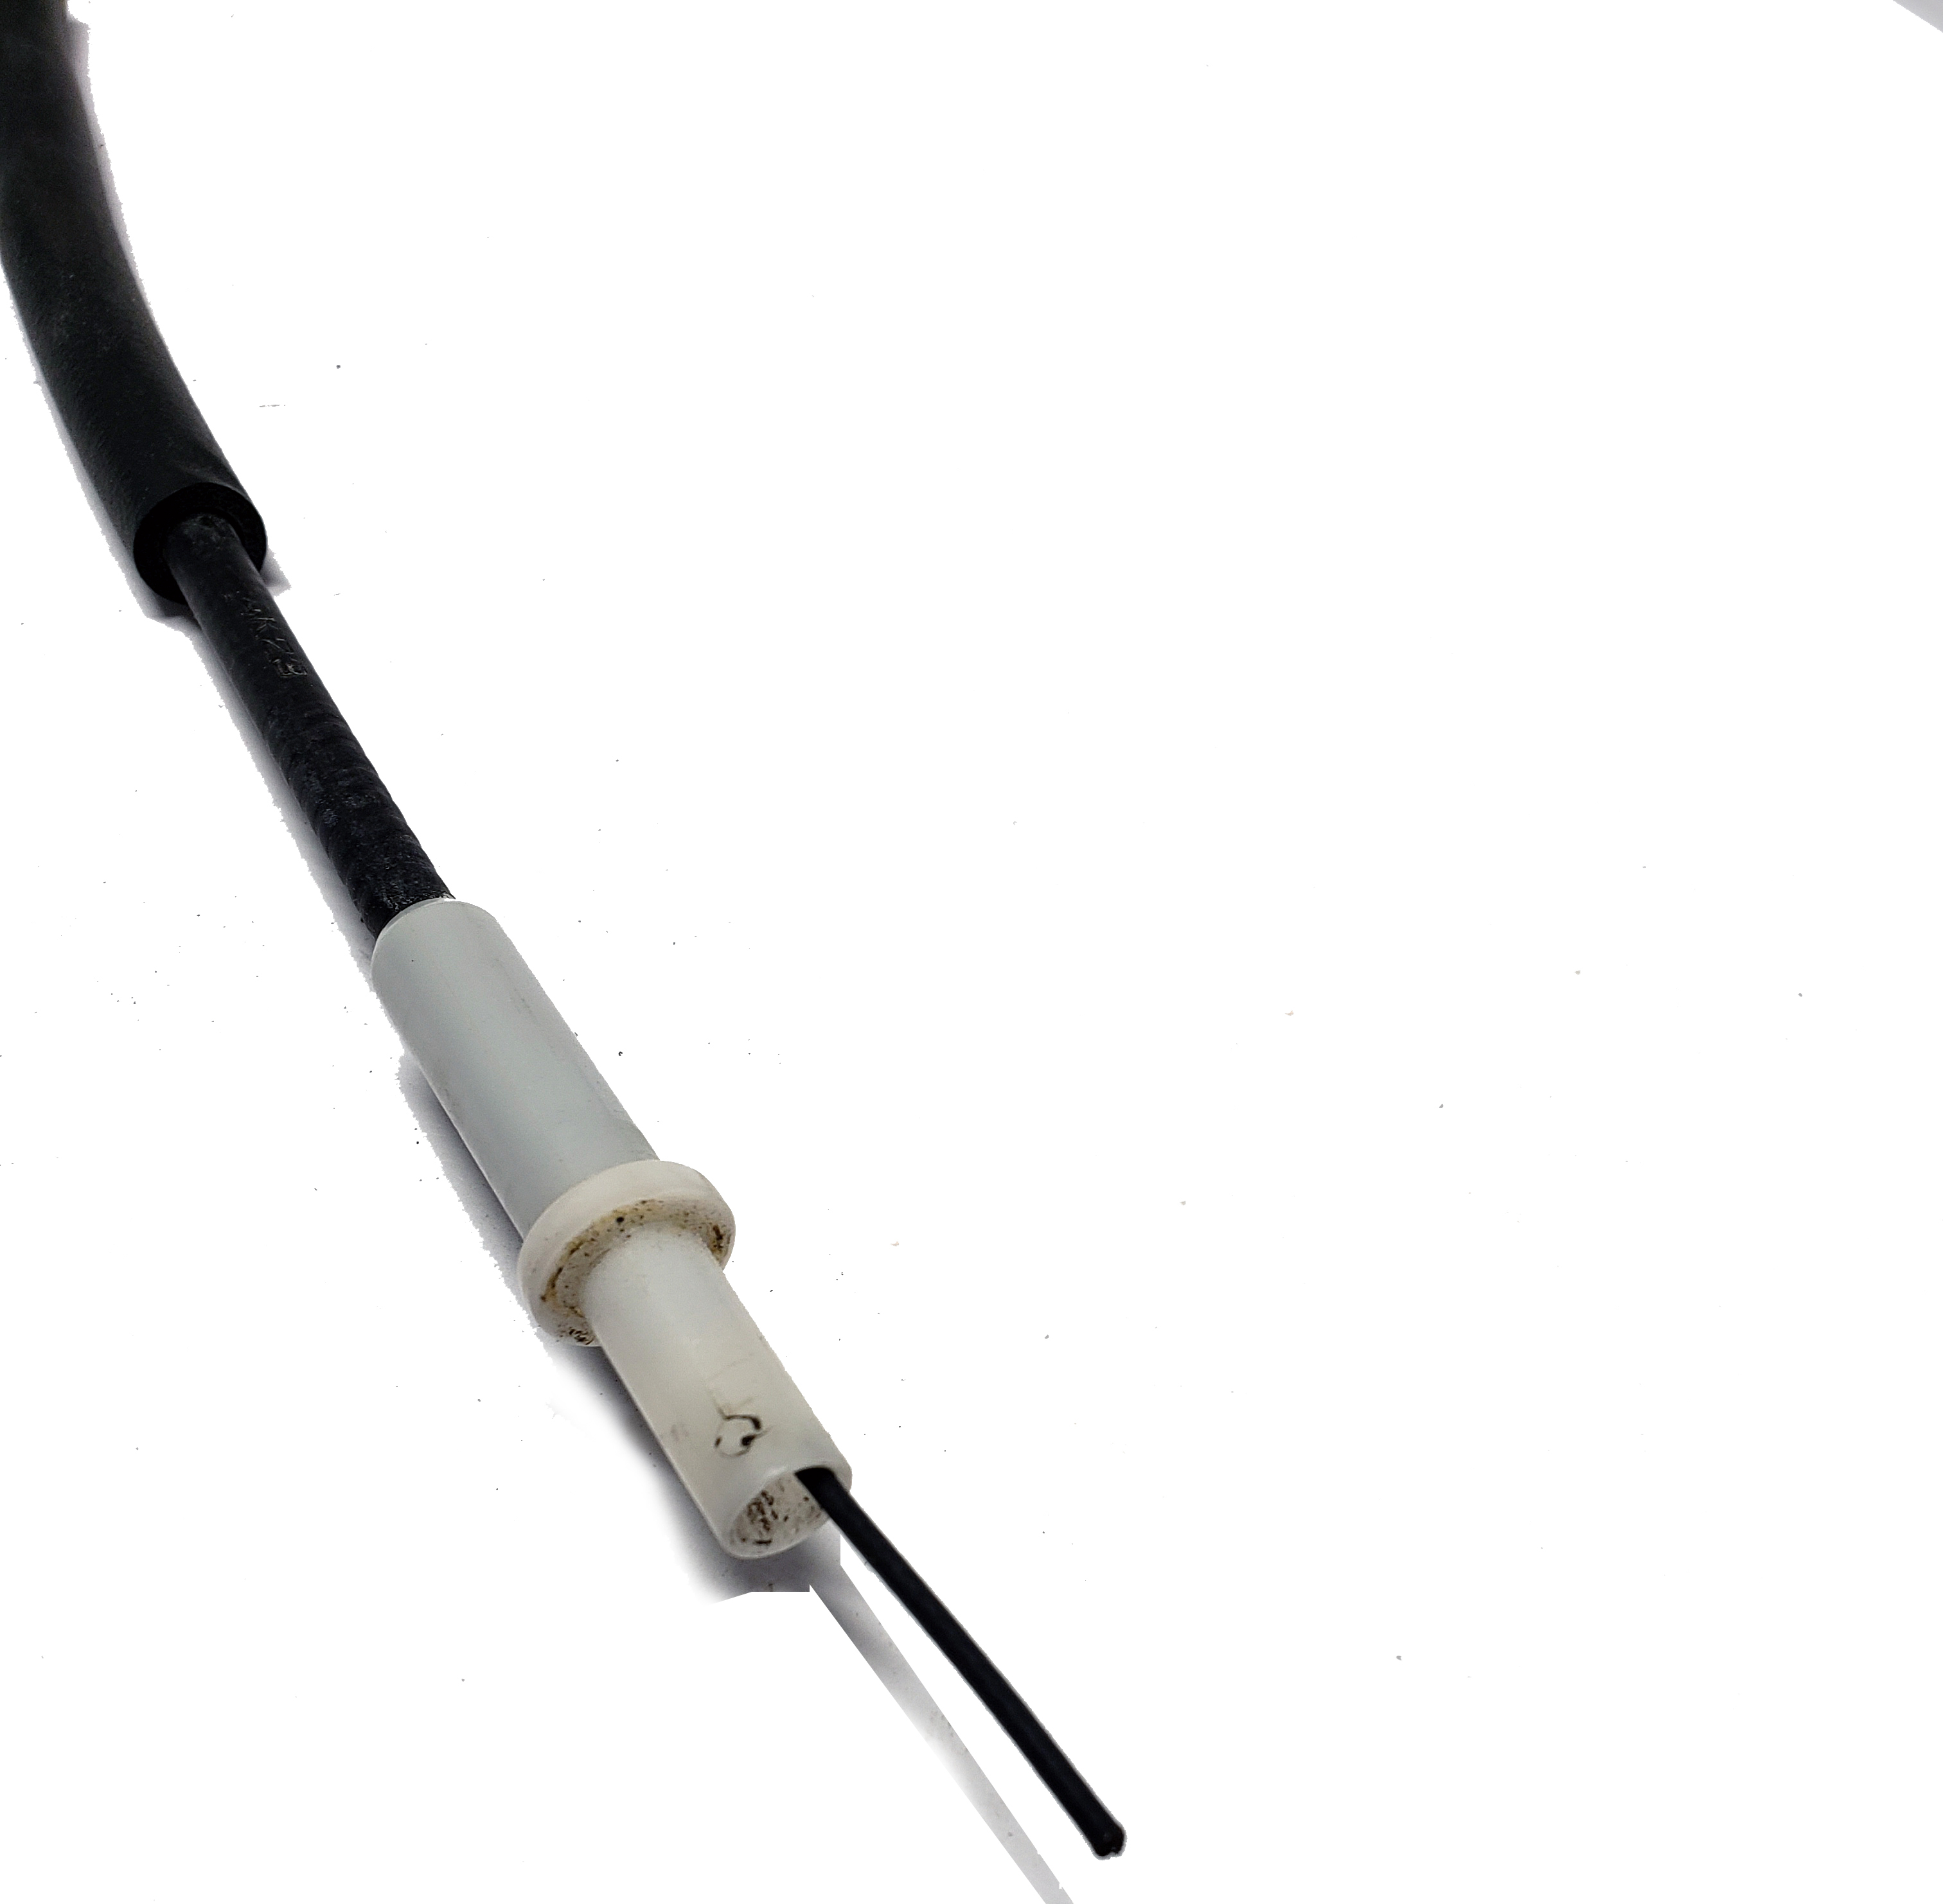
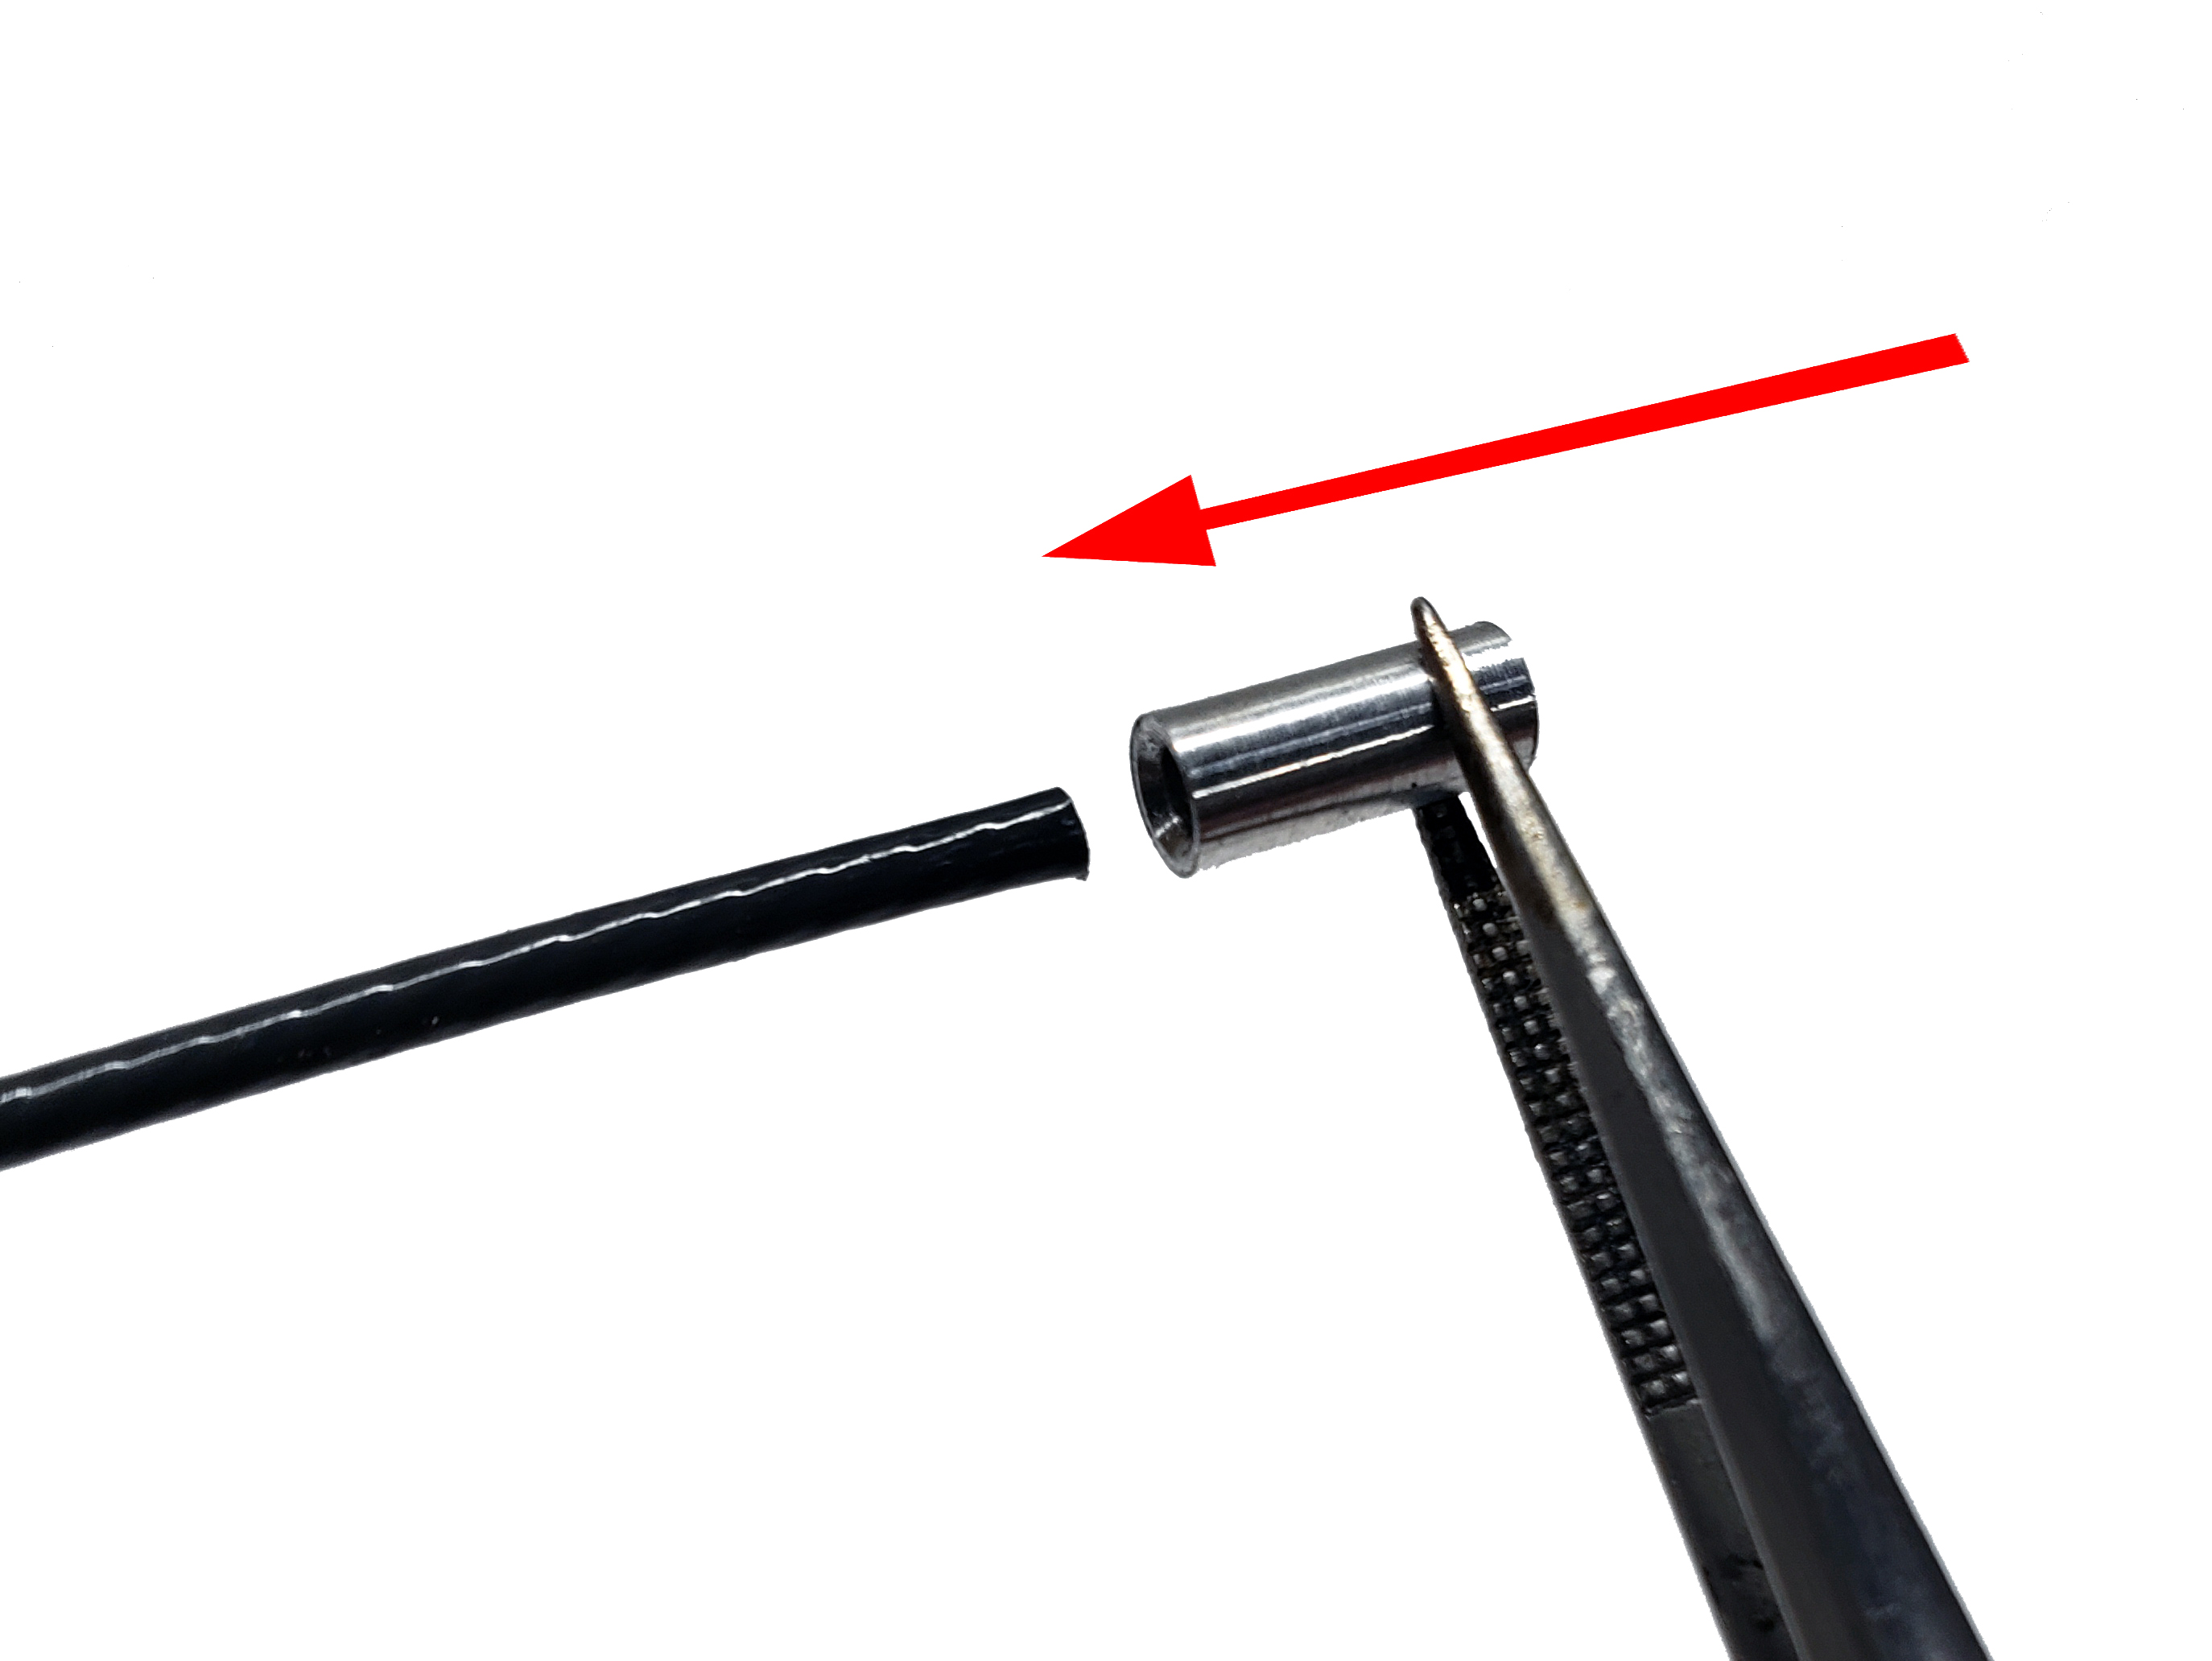
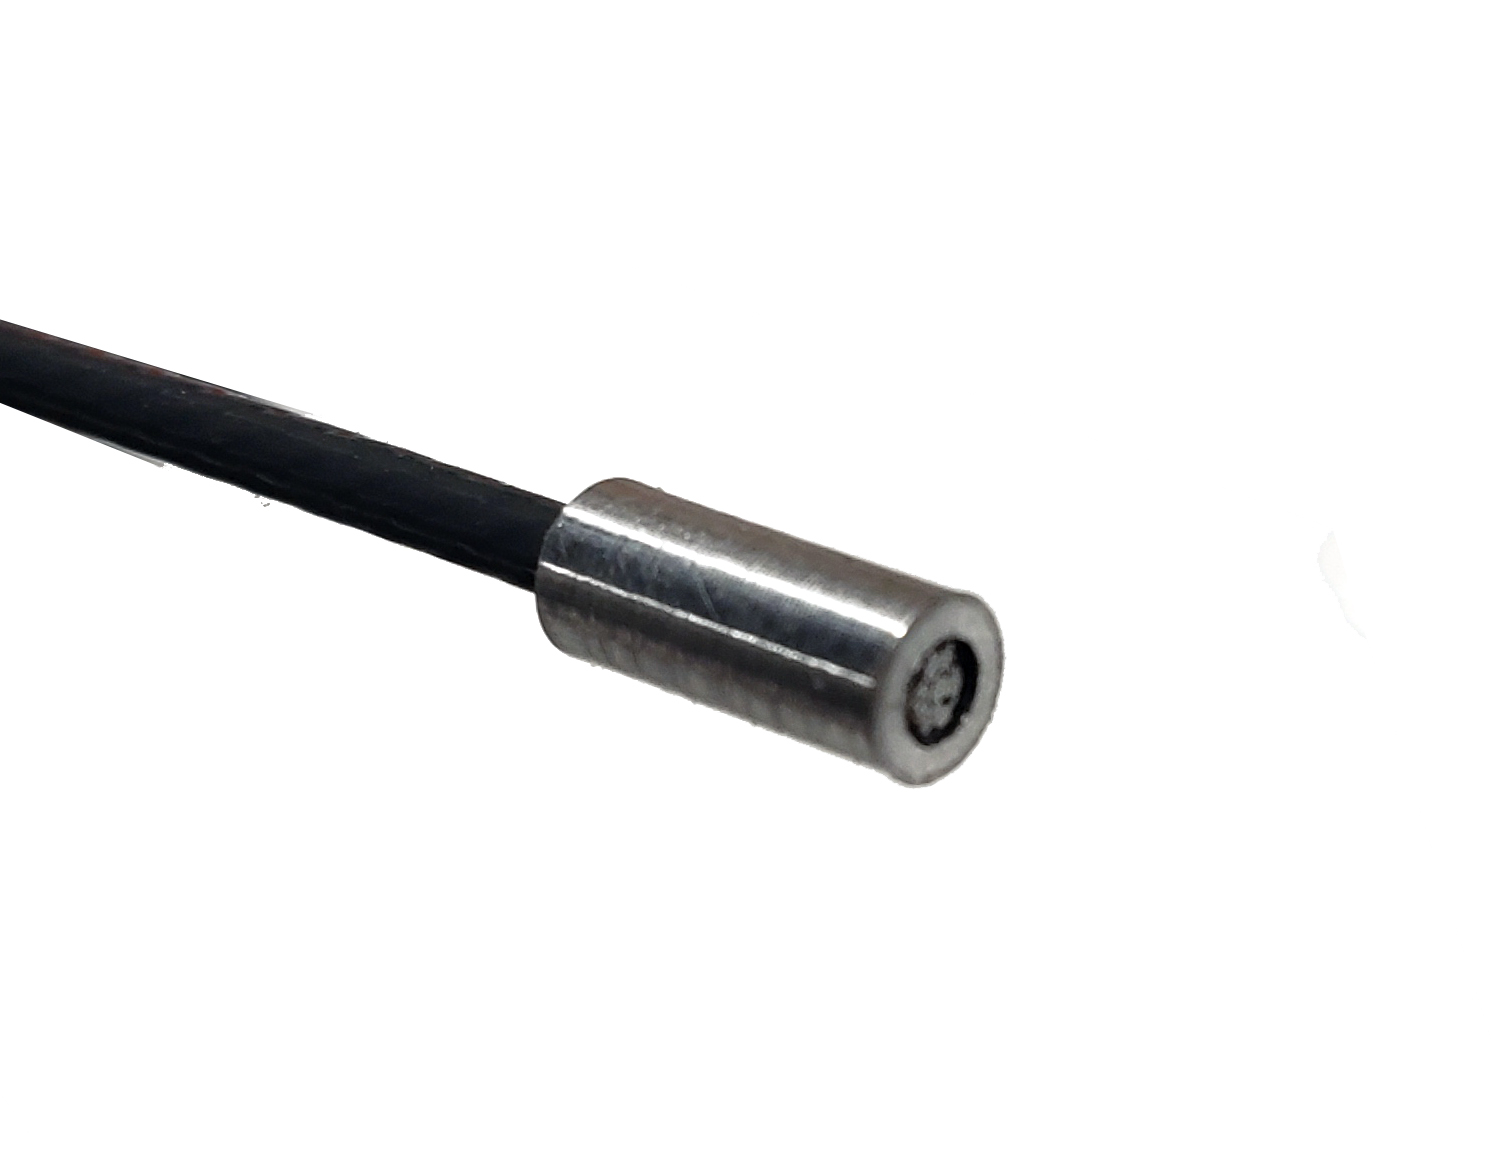
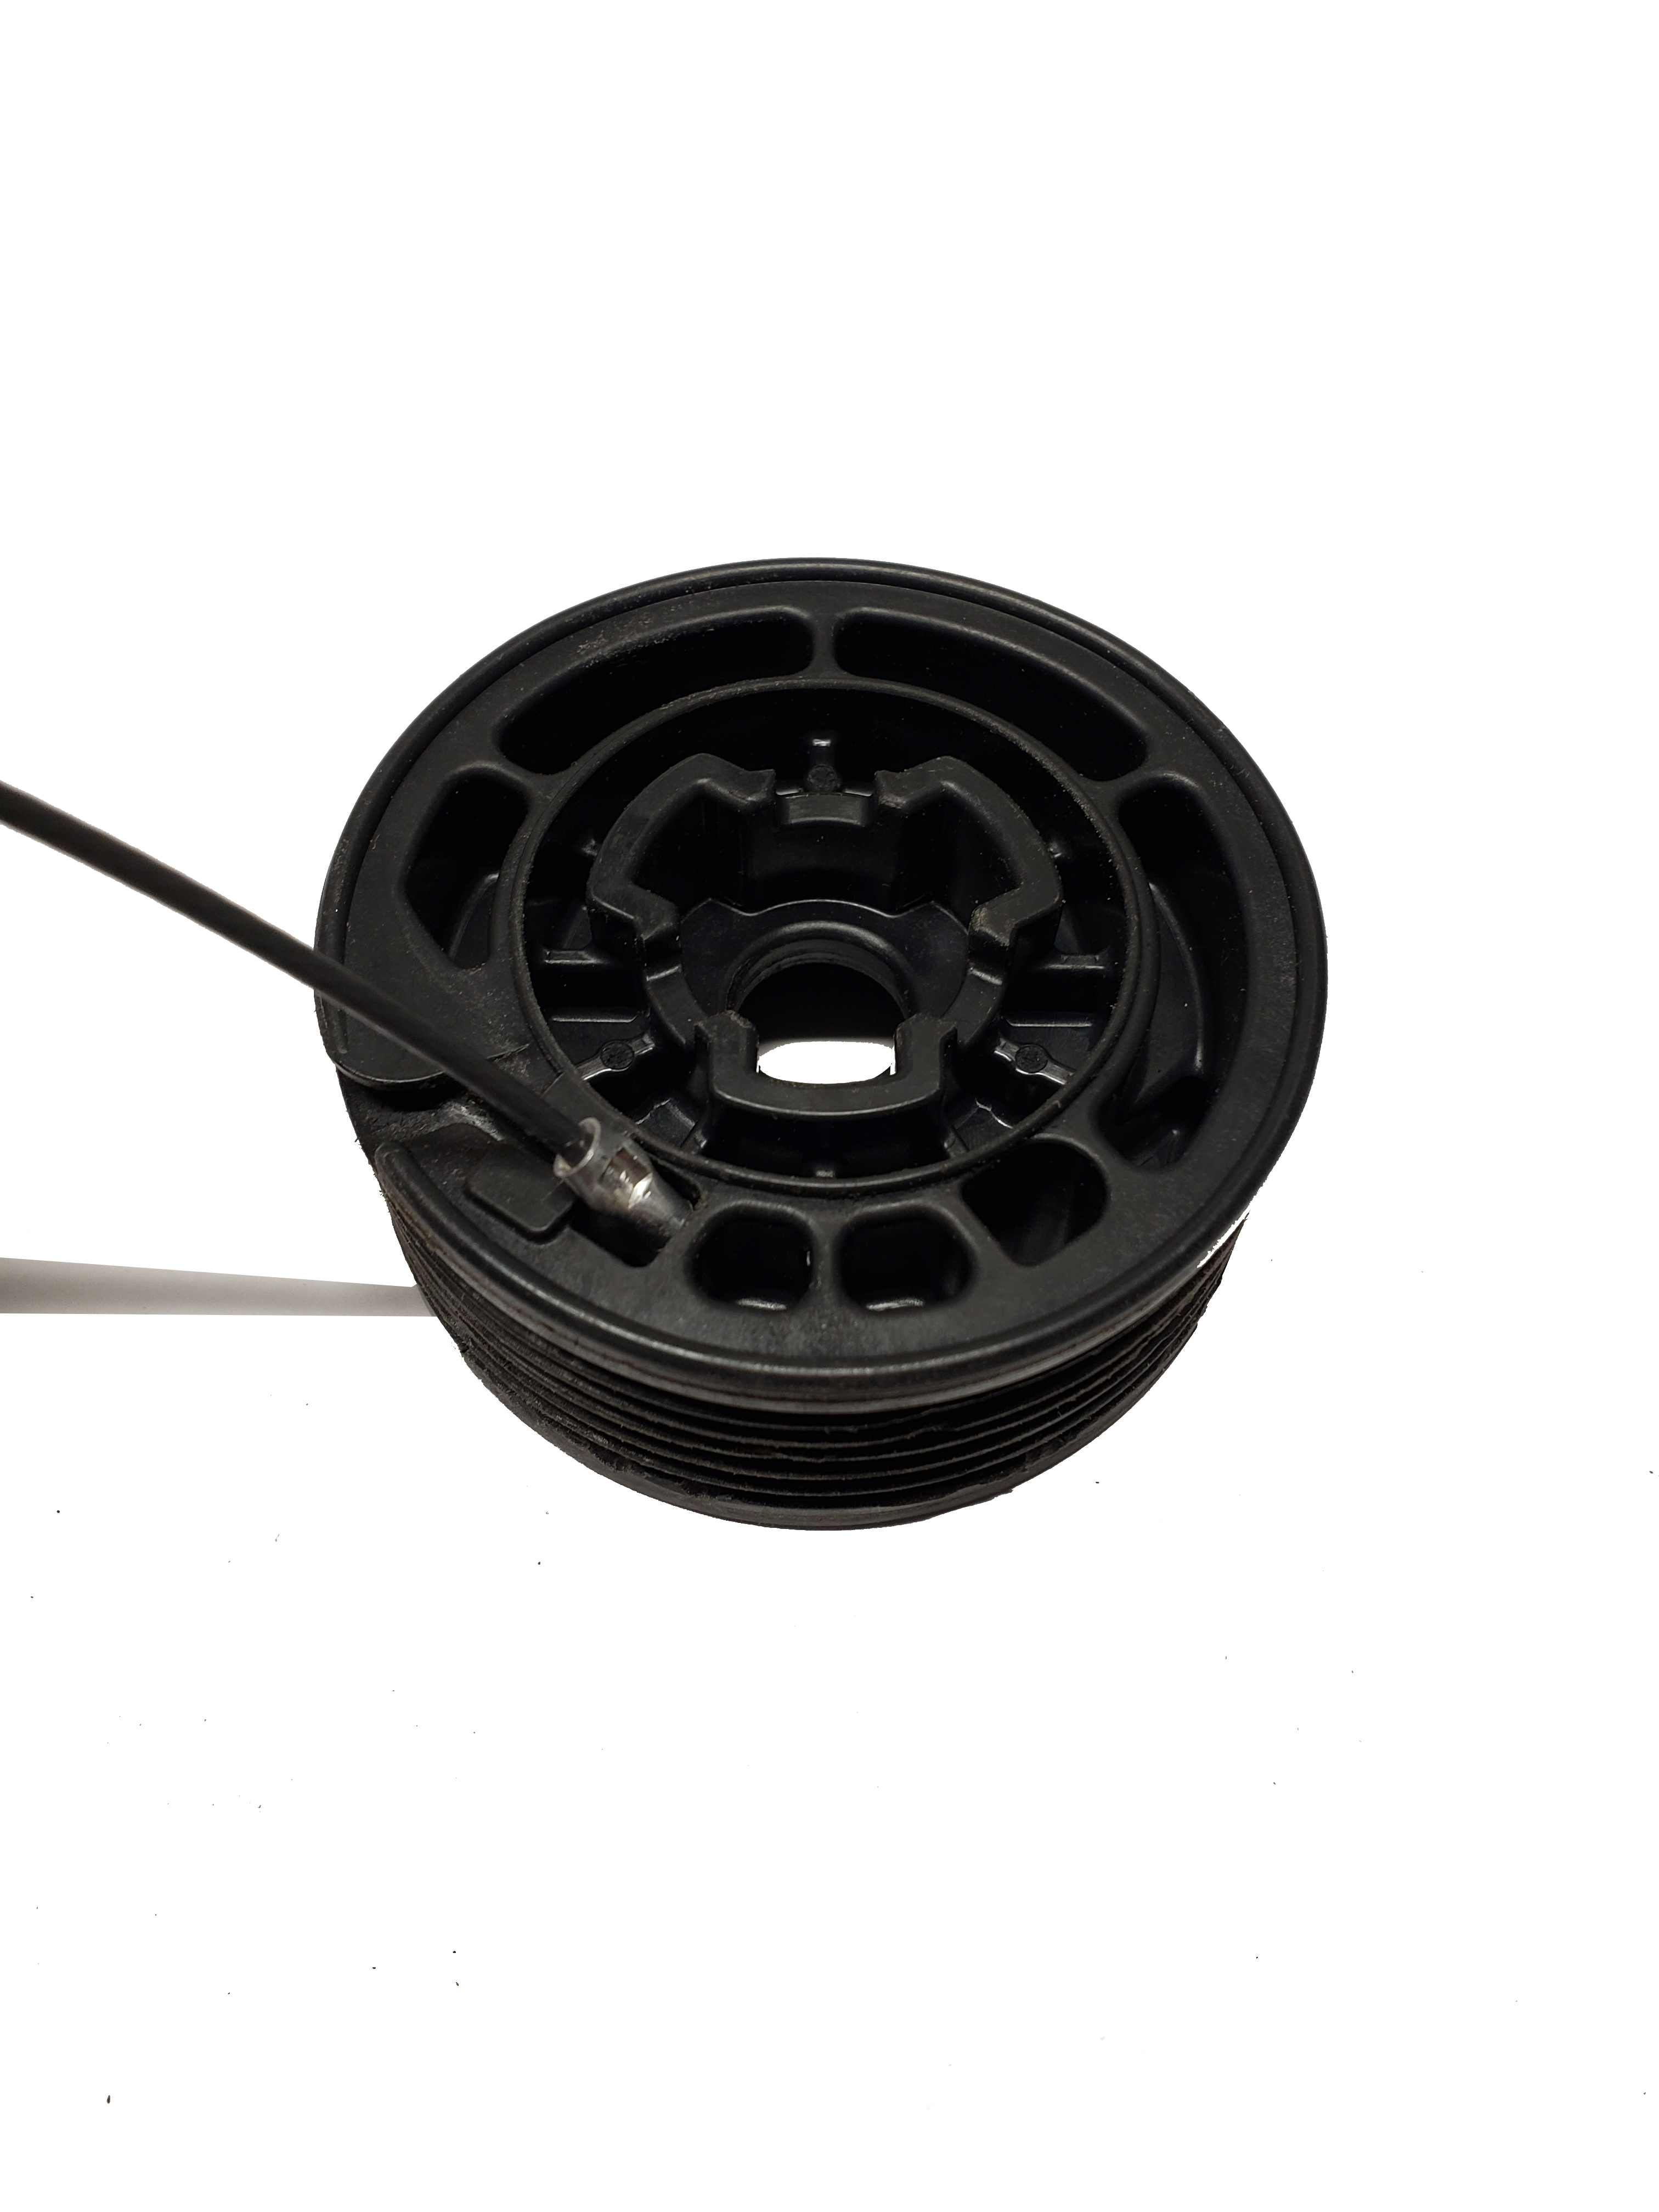
Ensure the end is coming out of the housing.
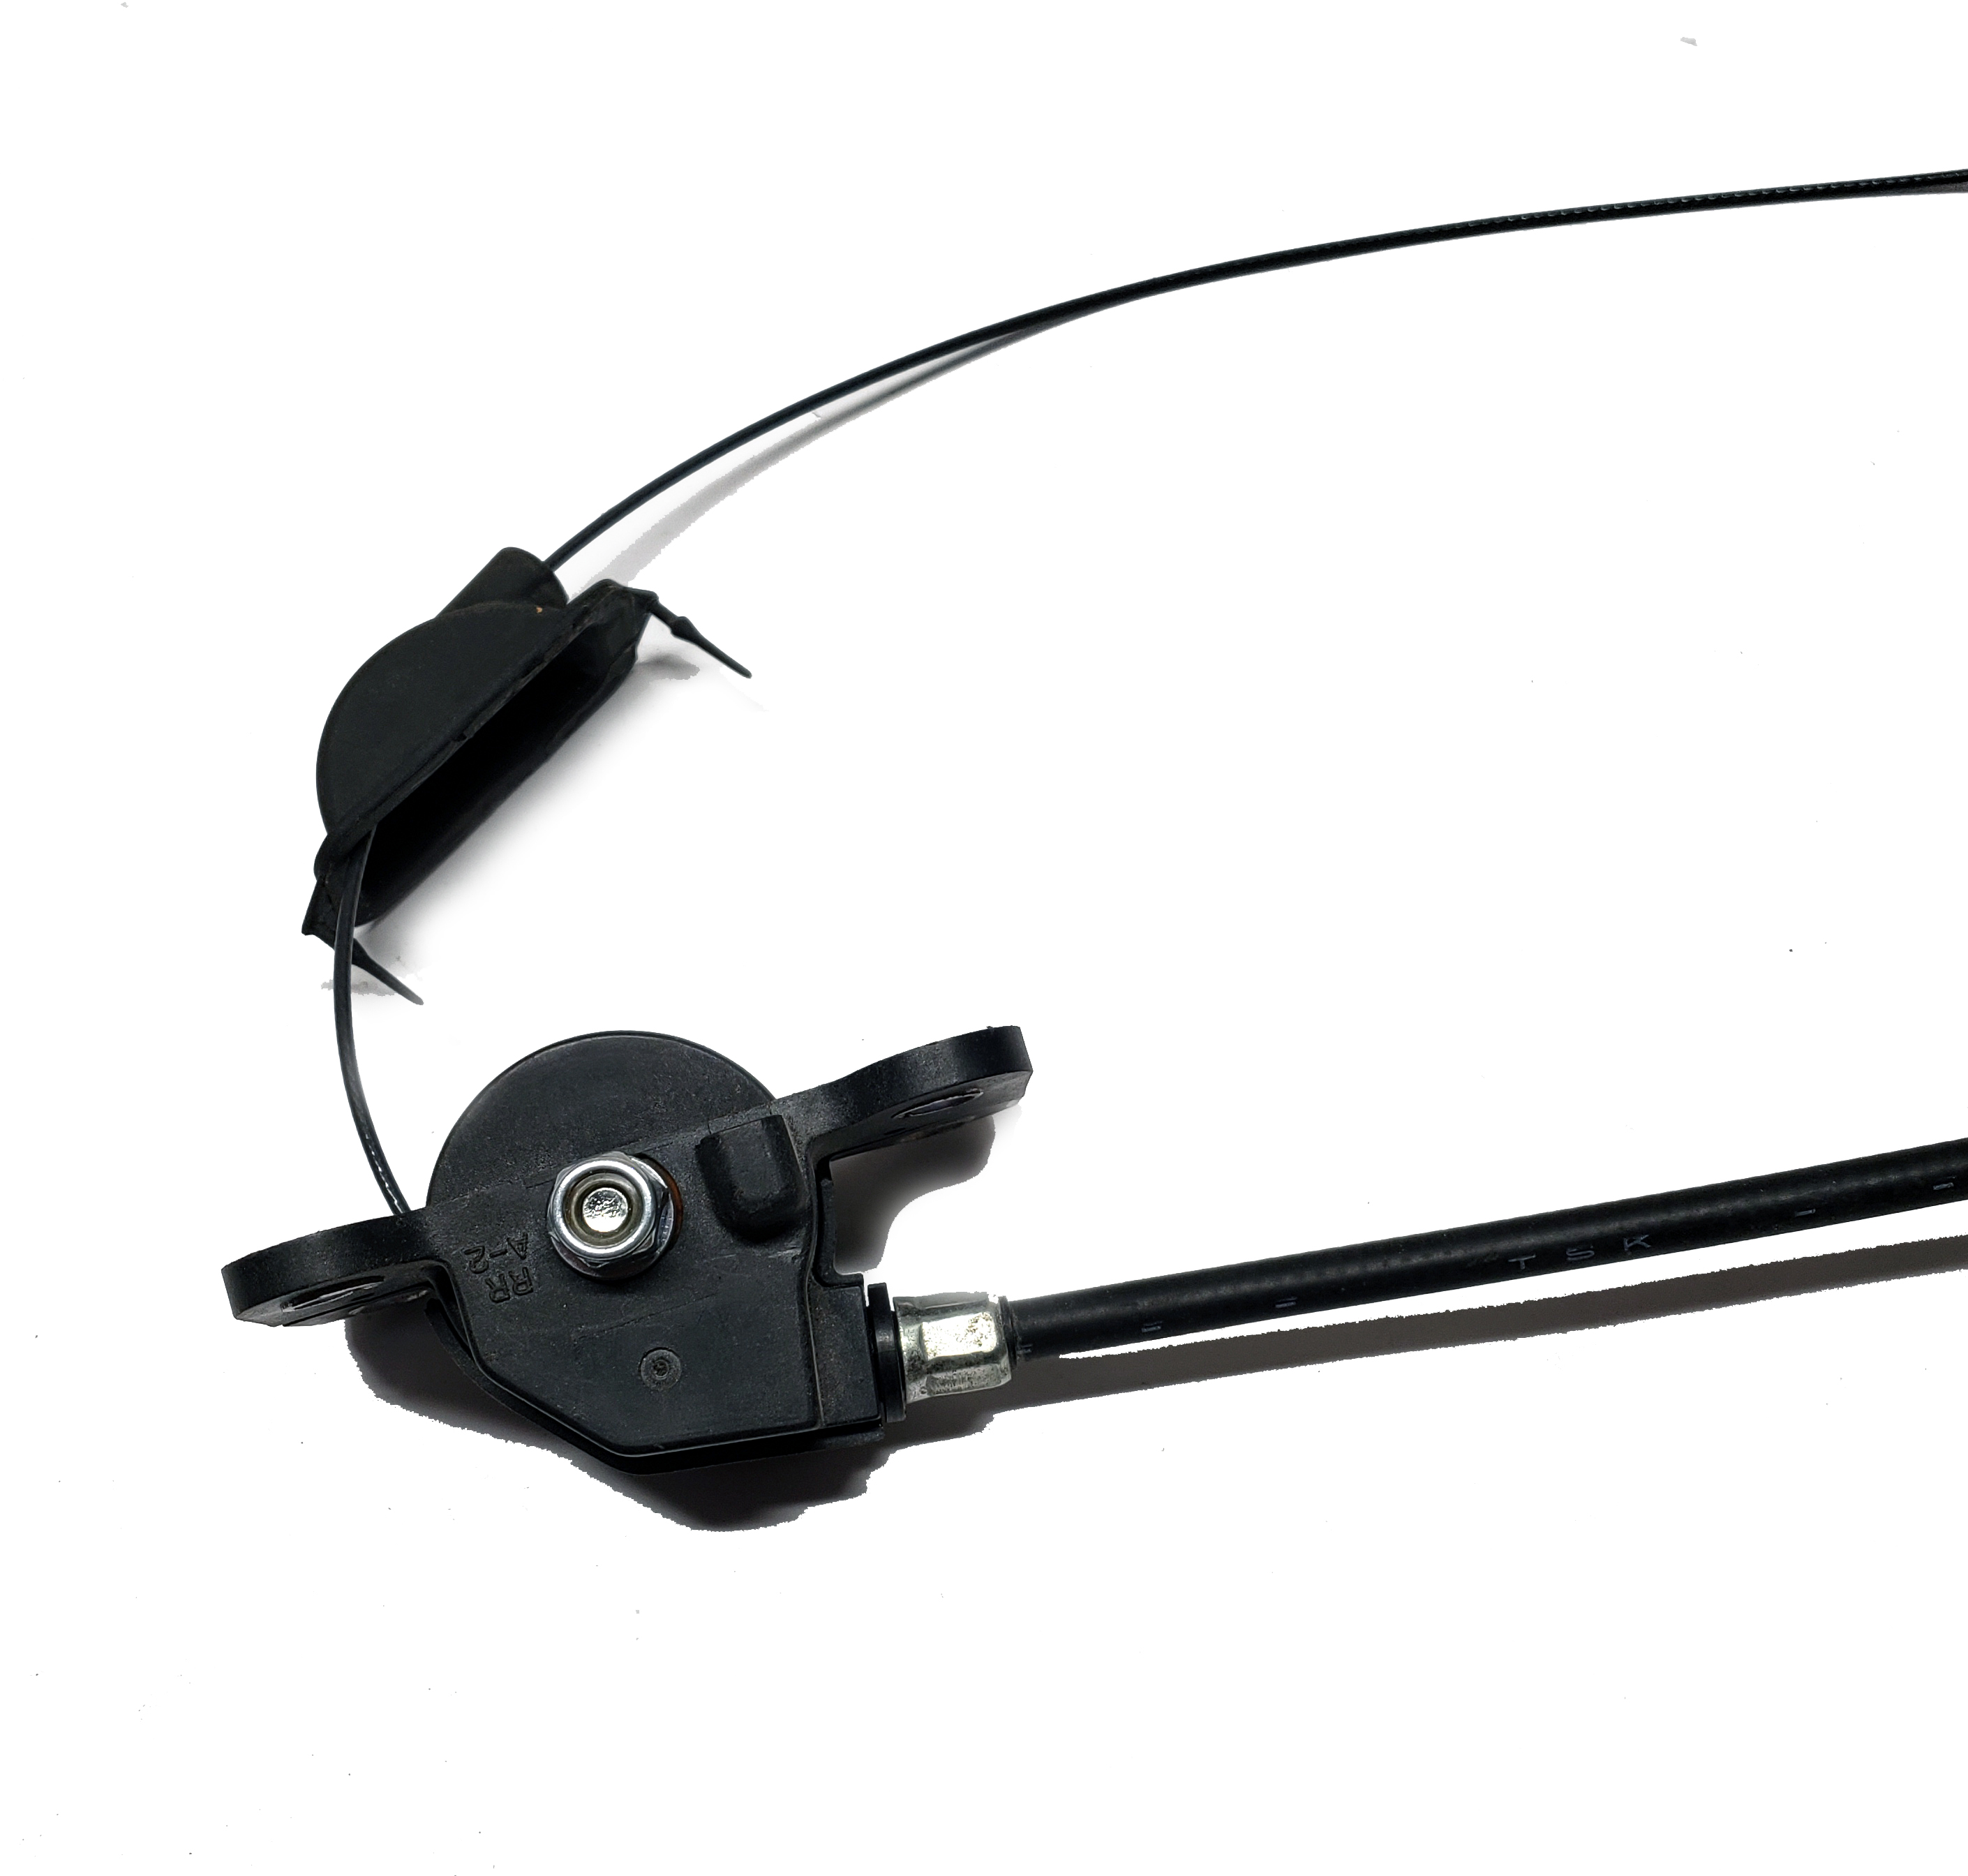
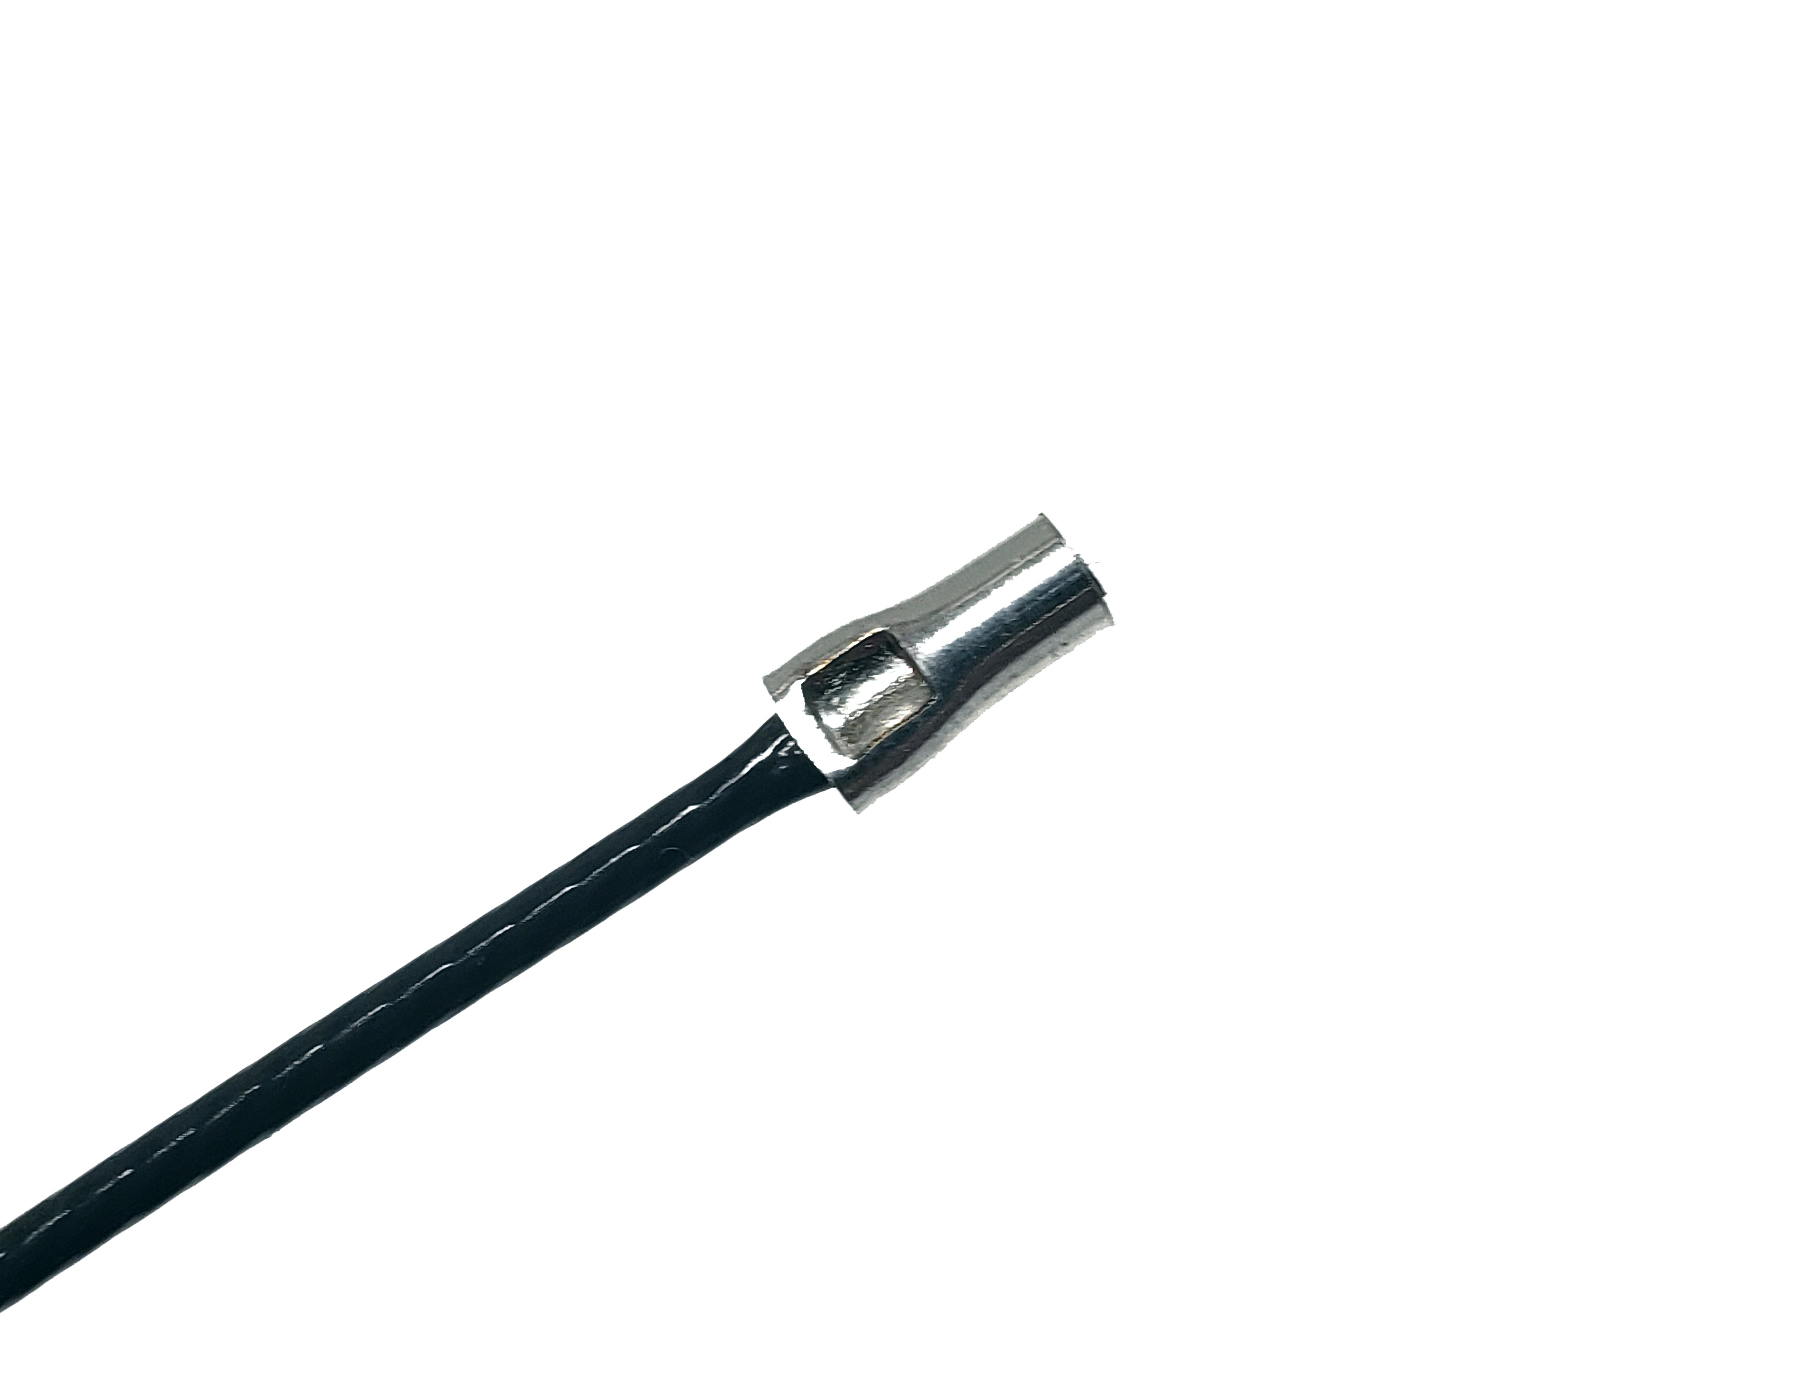
Now put the ferrule on the cable end
If someone sent you these instructions and you didn't purchase from THANOSZX7R or CarCableGuy, get your money back. You purchased inferior quality products from seller with no integrity. Just tell eBay or Amazon or whatever platform you purchased from they are "Not as described" and then purchase from us.
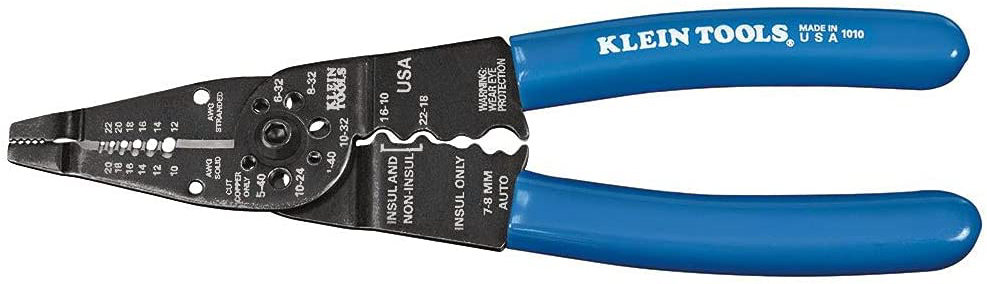
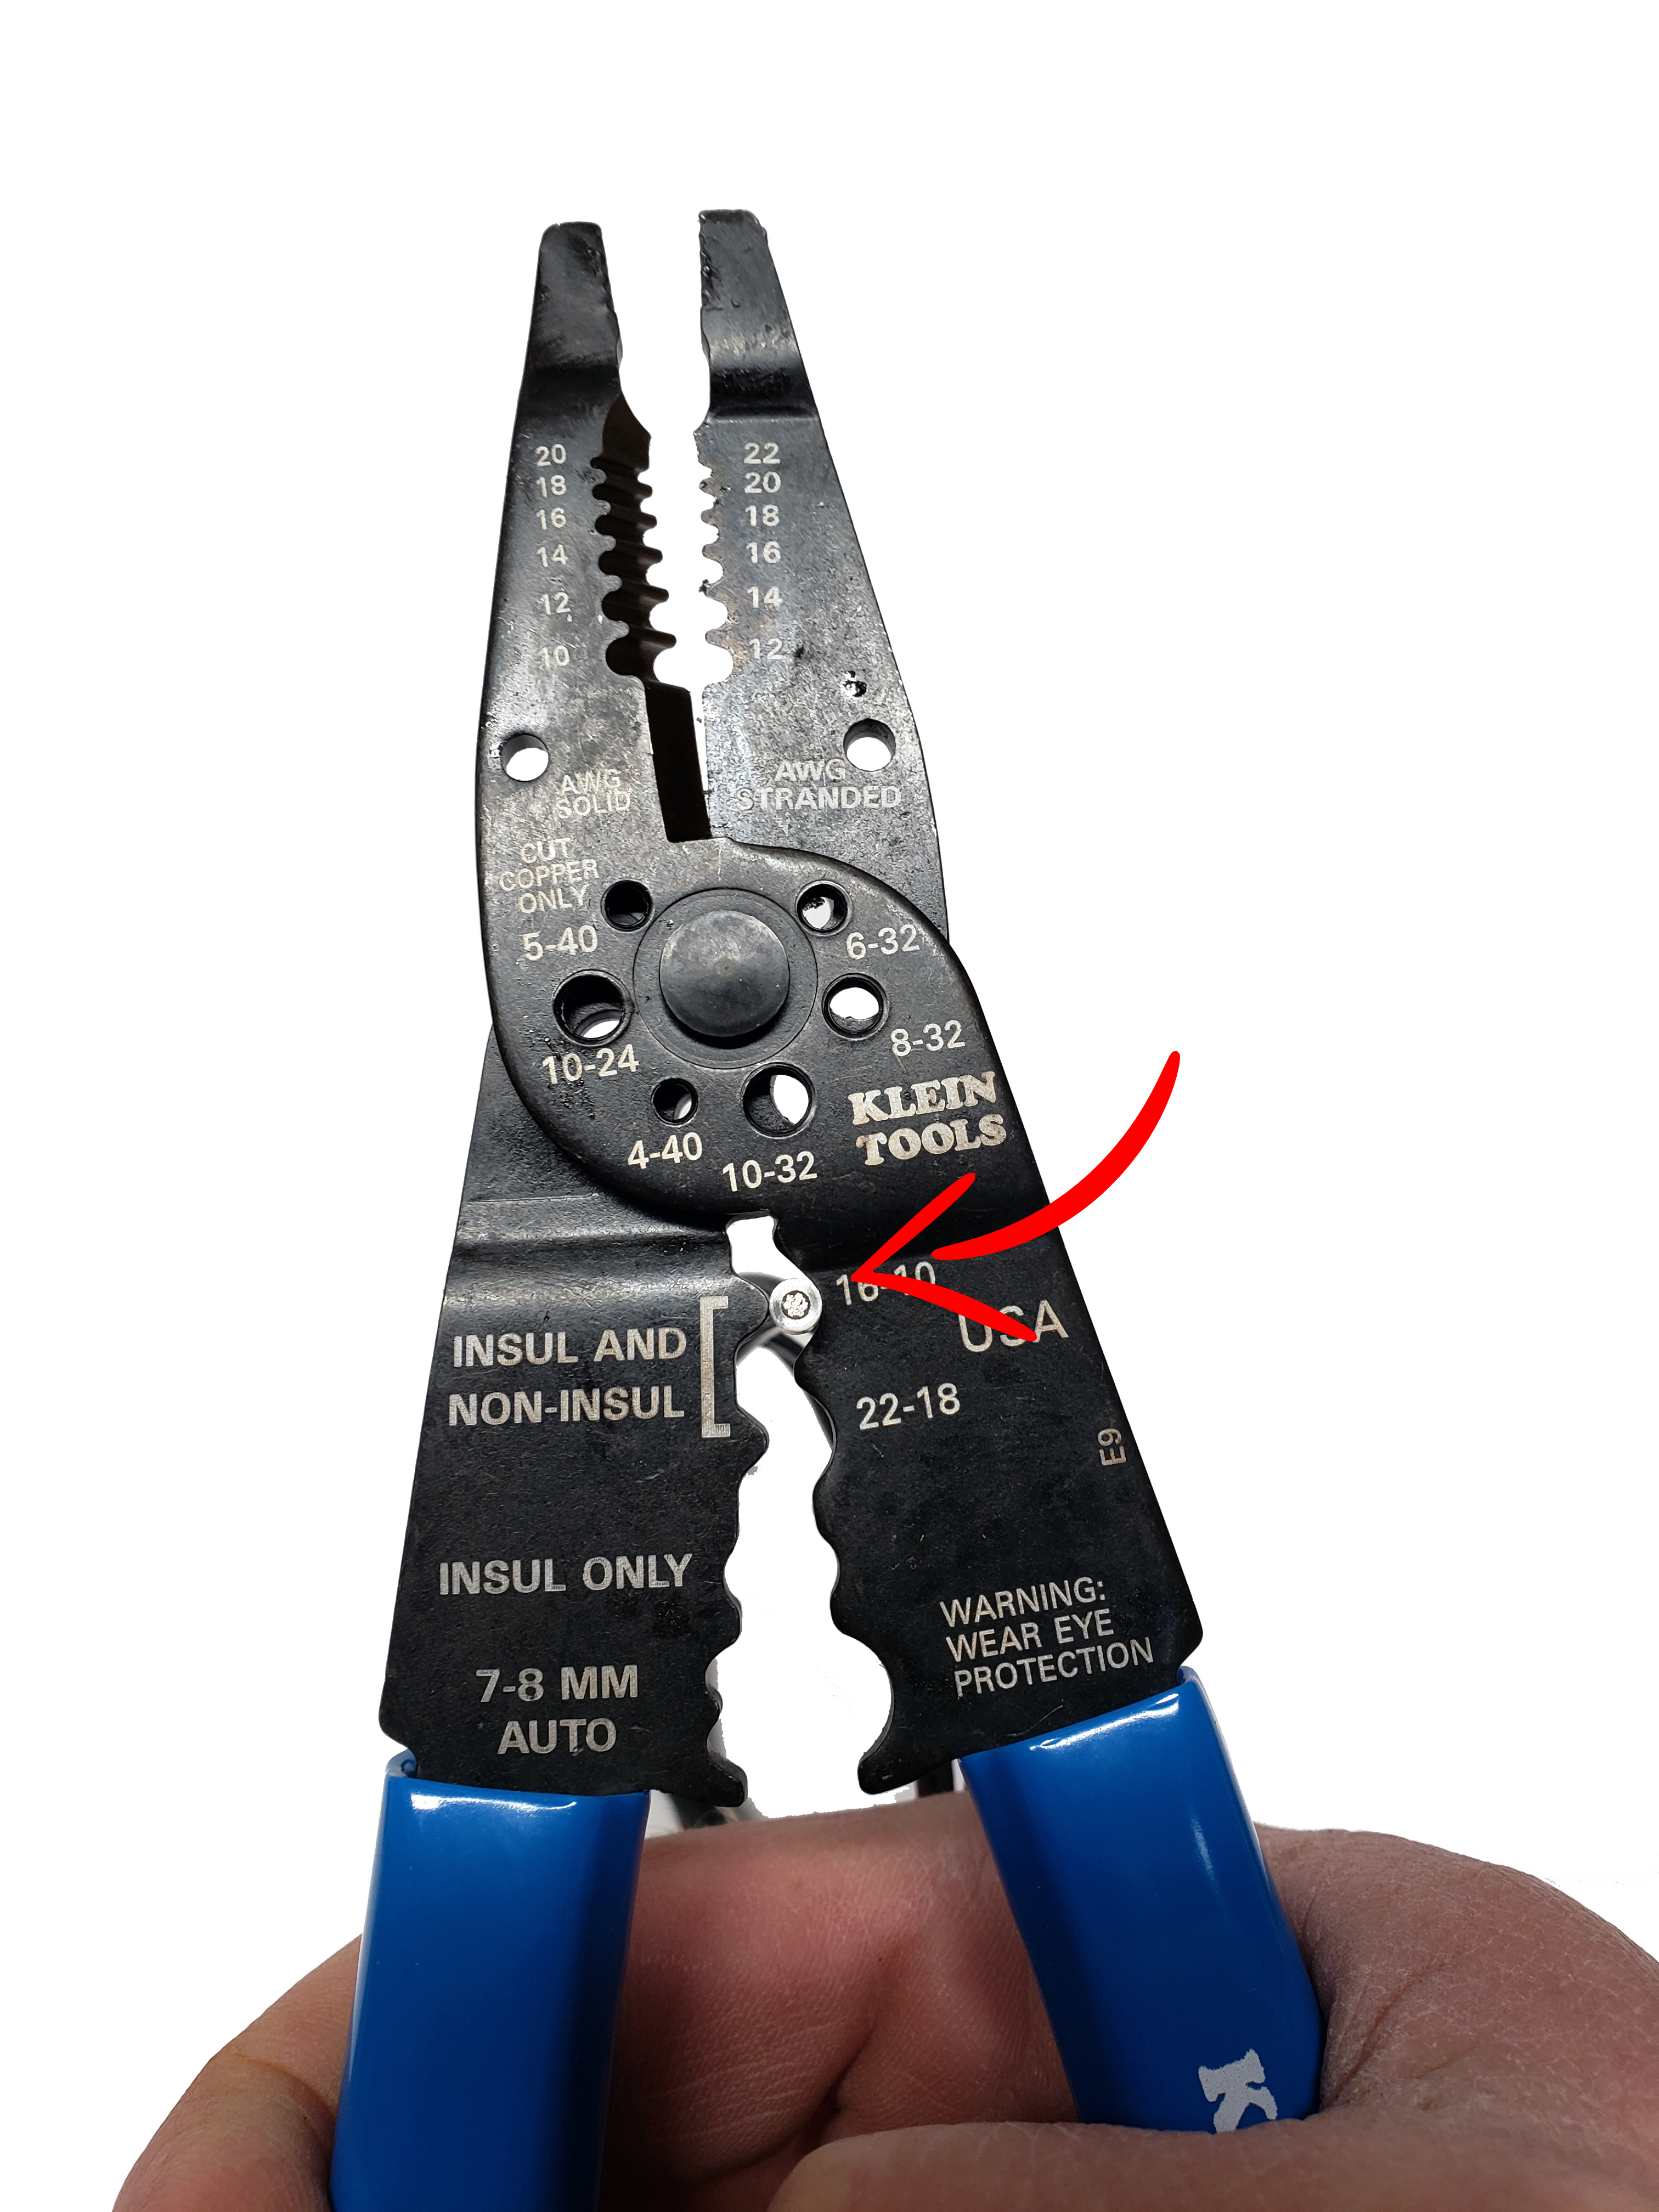
We recommend the Klein Long-Nose Multi-Purpose 1010 Tool. We have no affiliation with Klein, but their warranty is similar to ours and we use them in our business. We selected it because they have the ability to apply more pressure on the ferrule, but you must use a very hard squeeze.
We do NOT Recommend the tool type below. If the crimping area is on the tip of and it does not have a cam system, the crimp may not be effective.
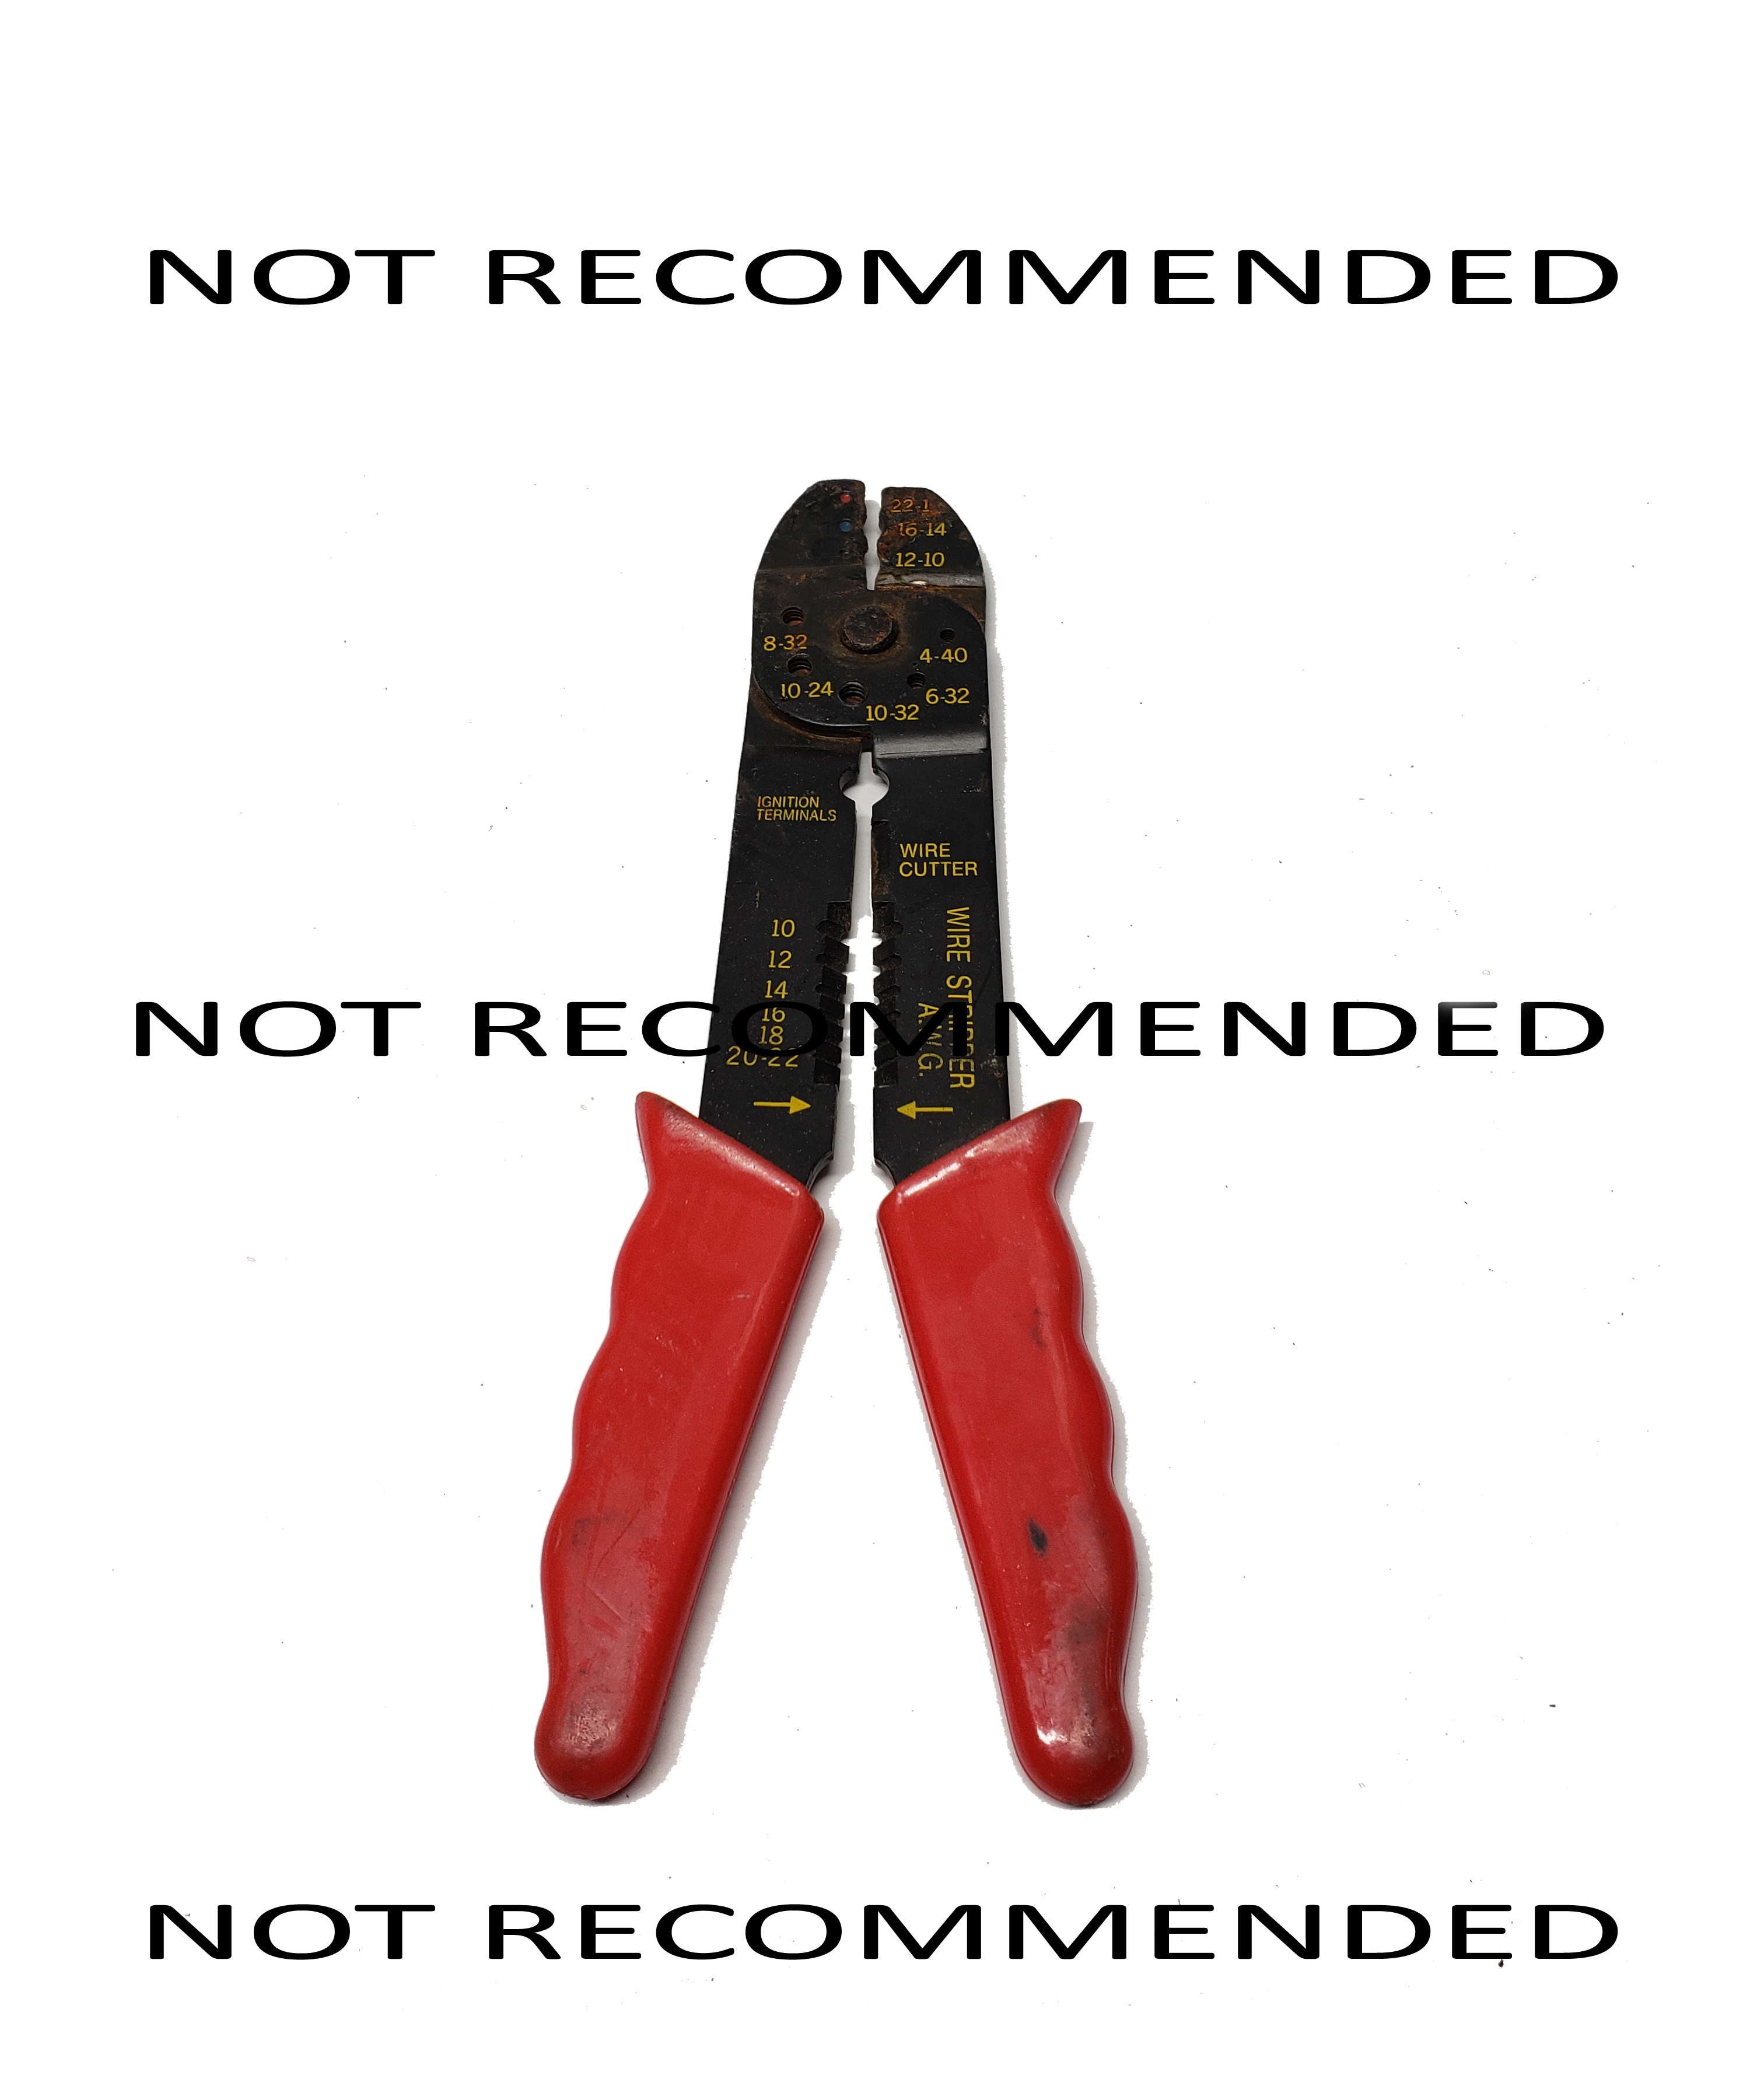
The above type is not recommended because it will not put a tight enough crimp on the ferrule. The SQUARE crimp type is also not recommended as it will not put enough force in the crimp.
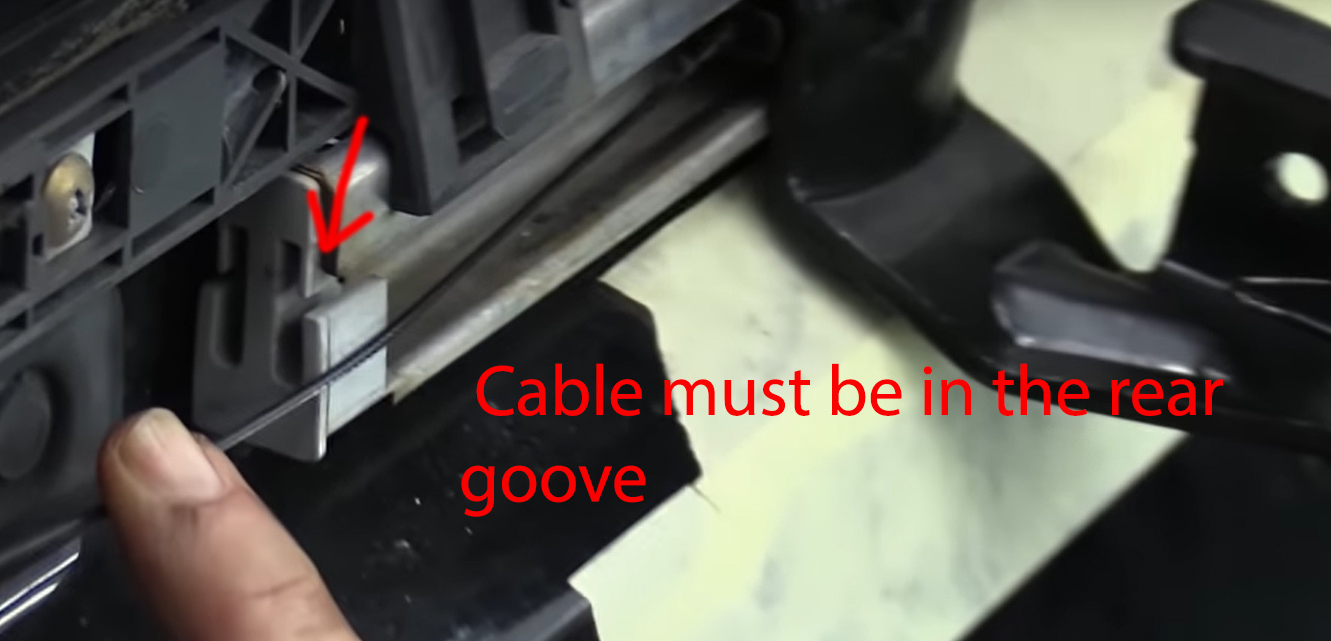
Once the cables are threaded through the pulley and housings and the ferrules are attached, put the housings back into the motor and insert the ends into the pulley. Note the direction of the long versus the short cable housing in the picture you should have taken before starting.
Once you have the cable wound around the pulley and installed in the motor check the tension and have another person to manually open close the door while you observe the movement and check for slack. The automatic tensioners will remove most of the slack, but you may have to rewind the pulley one more time to get any additional slack out. Ensure the door fully opens and closes manually.
When your door manually opens and closes without issue, reconnect the power and hold the white tensioners in place while someone else activates the automatic door switch. Make sure to hold the tensioners so they do not come out of the motor unit.
YOU MUST HOLD THE TENSIONER IN OR PUT THE COVER BACK ON THE MOTOR OR THEY WILL POP OUT AND RUIN THE CABLES.


If the door operates normally put the motor cover back on in reverse order.
If your door does not fully close, you may need to home the door. This is because the computer thinks the door is closed by the number rotations of the pulley. You need to pull the fuse to the door and clock. Wait ten seconds put the fuse back in. Then at the dashboard door button (NOT THE FOB) hold the button close until the door fully closes and the locking mechanism engages. Your door is now homed and should operate properly.
Contact@CarCableGuy.com
"72010-TK8-A12 R" is another tiny product line of TitanRCK